The hip thrust is an excellent exercise for building strong and powerful glutes. While it's relatively straightforward, mastering the correct form is crucial for maximizing benefits and minimizing injury risk. In this blog, we'll dive deep into the proper form for performing a hip thrust and highlight common mistakes to avoid.
Table of Contents
Benefits of Hip Thrusts
The hip thrust is a highly effective exercise that specifically targets the glute muscles. When performed correctly, hip thrusts can offer a multitude of benefits that go beyond just building a stronger backside. Here, we'll explore the detailed benefits of incorporating hip thrusts into your workout routine.
Enhanced Glute Strength and Activation
Benefit: The primary advantage of hip thrusts is the significant activation and strengthening of the gluteus maximus, medius, and minimus.
Why It’s Important: Strong glutes are crucial for various functional movements and athletic performance. They help in activities such as running, jumping, lifting, and even everyday tasks like climbing stairs or standing up from a seated position.
How It Works: The hip thrust exercise isolates the glutes more effectively than many other lower body exercises, such as squats or deadlifts, by focusing the resistance directly on these muscles.
Improved Athletic Performance
Benefit: Hip thrusts contribute to better performance in sports and physical activities.
Why It’s Important: Strong glutes enhance explosive power, which is vital for athletes in sports that require sprinting, jumping, and rapid changes in direction.
How It Works: By increasing the strength and power of the glutes, hip thrusts can improve your speed, agility, and overall athletic performance. Athletes often notice improvements in their sprint times and jump heights after incorporating hip thrusts into their training.
Injury Prevention and Reduced Lower Back Pain
Benefit: Strengthening the glutes can help prevent injuries and alleviate lower back pain.
Why It’s Important: Weak glutes can lead to compensatory movements and overuse of other muscles, such as the lower back and hamstrings, increasing the risk of injury.
How It Works: By building strong glutes, hip thrusts help to stabilize the pelvis and support proper posture, reducing strain on the lower back. This can lead to a lower incidence of back pain and injuries related to poor biomechanics.
Enhanced Posture and Pelvic Stability
Benefit: Hip thrusts improve posture and pelvic stability.
Why It’s Important: Good posture and pelvic stability are essential for preventing injuries and maintaining overall body alignment.
How It Works: Strengthening the glutes helps to support the pelvis and lower back, promoting a neutral spine alignment. This can improve your posture both during exercise and in everyday activities, reducing the risk of postural-related injuries.
Increased Hypertrophy and Muscle Growth
Benefit: Hip thrusts are highly effective for glute hypertrophy (muscle growth).
Why It’s Important: For those looking to build and shape their glutes, the hip thrust is one of the best exercises for stimulating muscle growth.
How It Works: The hip thrust provides a large range of motion and allows for heavy loading, both of which are key factors in promoting muscle hypertrophy. By consistently performing hip thrusts with progressive overload, you can achieve significant glute development.
Enhanced Functional Strength
Benefit: Hip thrusts improve functional strength, which is beneficial for daily activities.
Why It’s Important: Functional strength translates to better performance in everyday tasks, such as lifting, carrying, and moving objects.
How It Works: The strength gained from hip thrusts enhances your ability to perform daily activities with greater ease and efficiency. Strong glutes contribute to overall lower body strength and stability, making movements more efficient and reducing fatigue.
Versatility and Accessibility
Benefit: Hip thrusts are versatile and can be modified for all fitness levels.
Why It’s Important: Exercise adaptability is crucial for accommodating different fitness levels and goals.
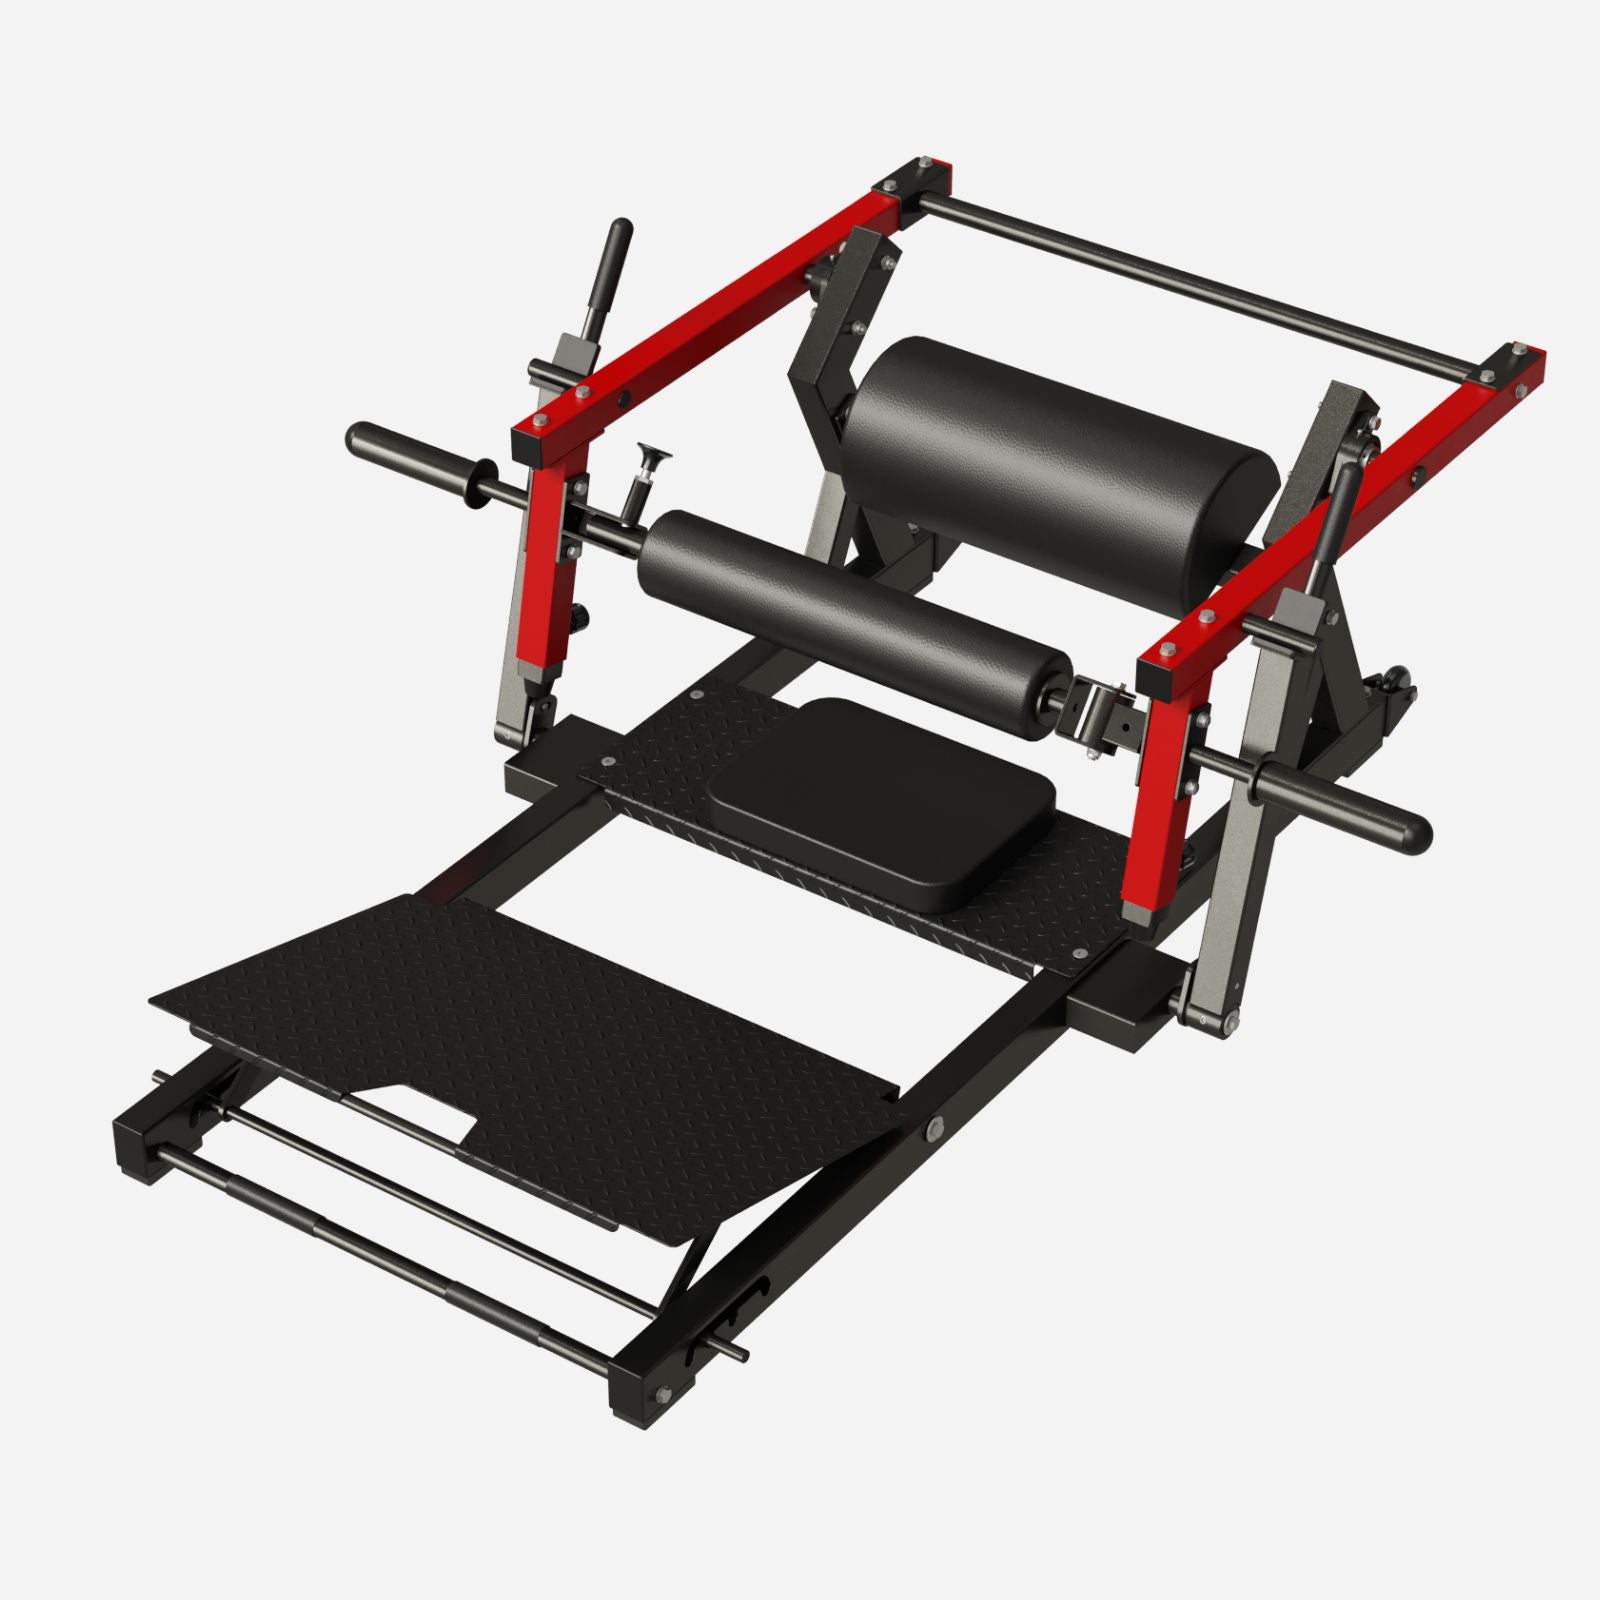
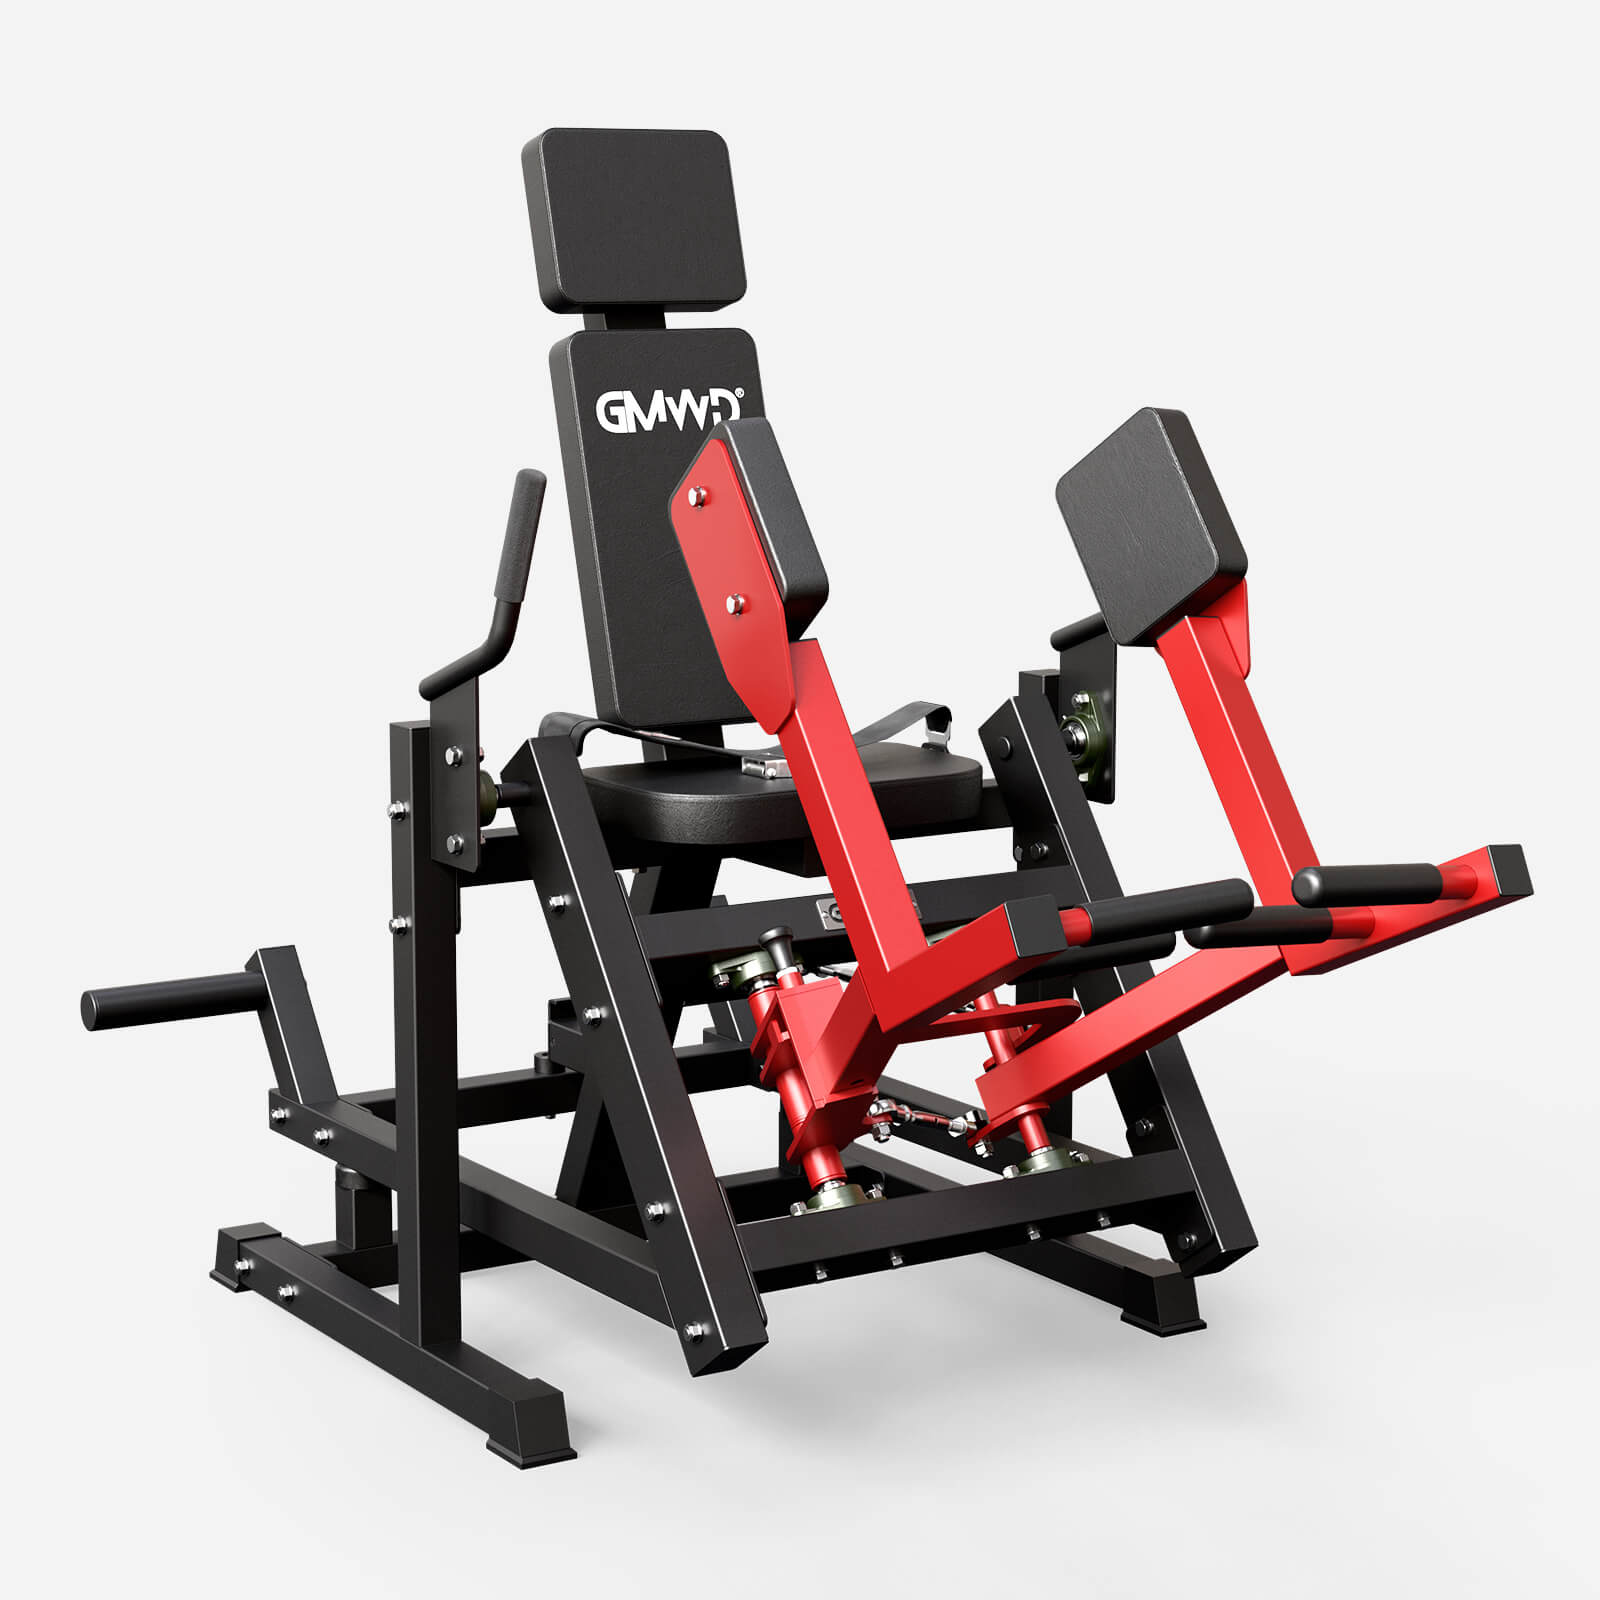
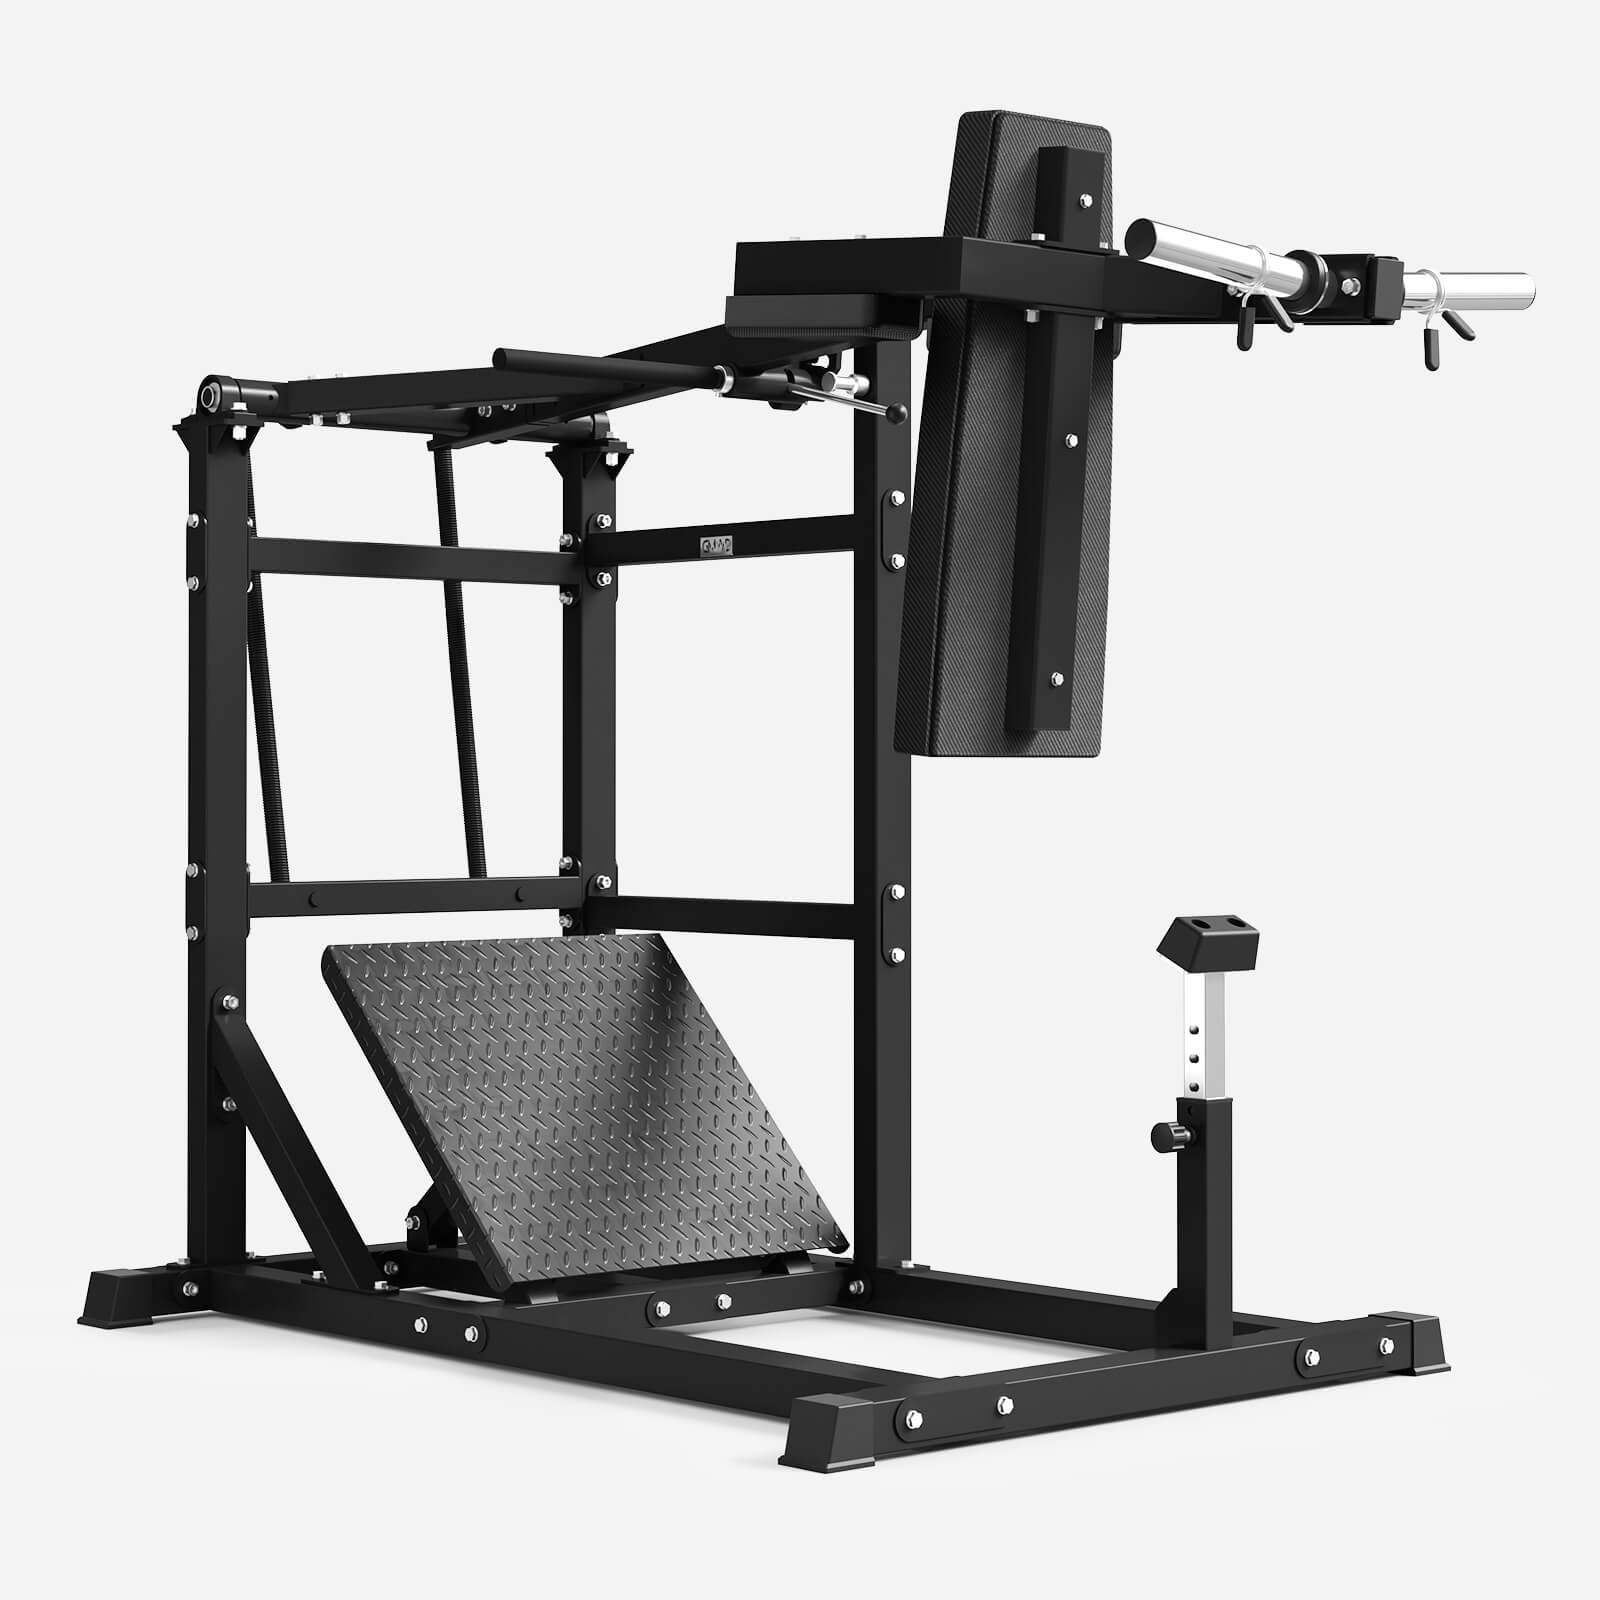
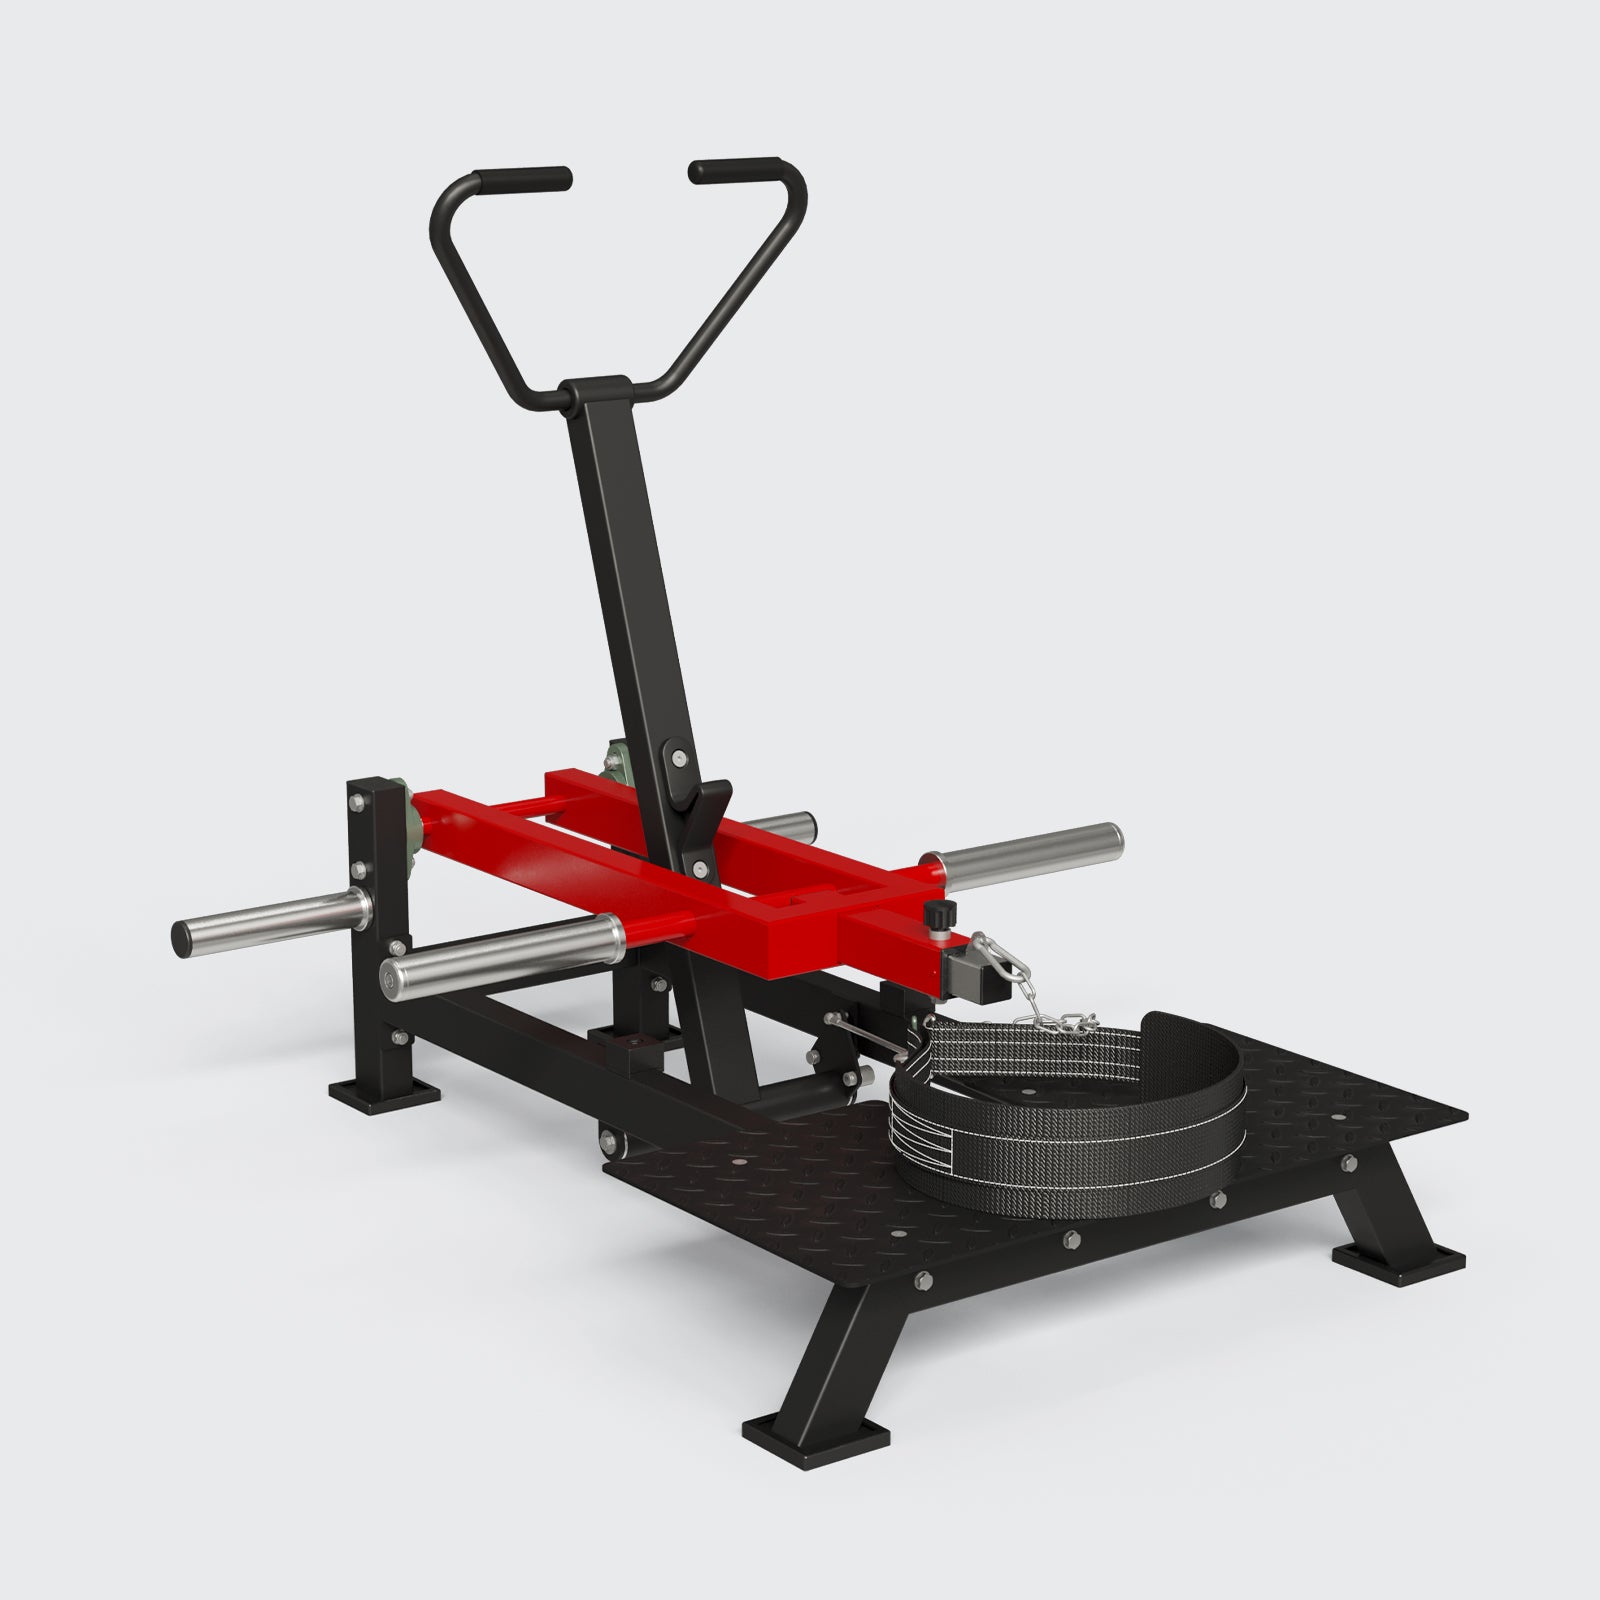
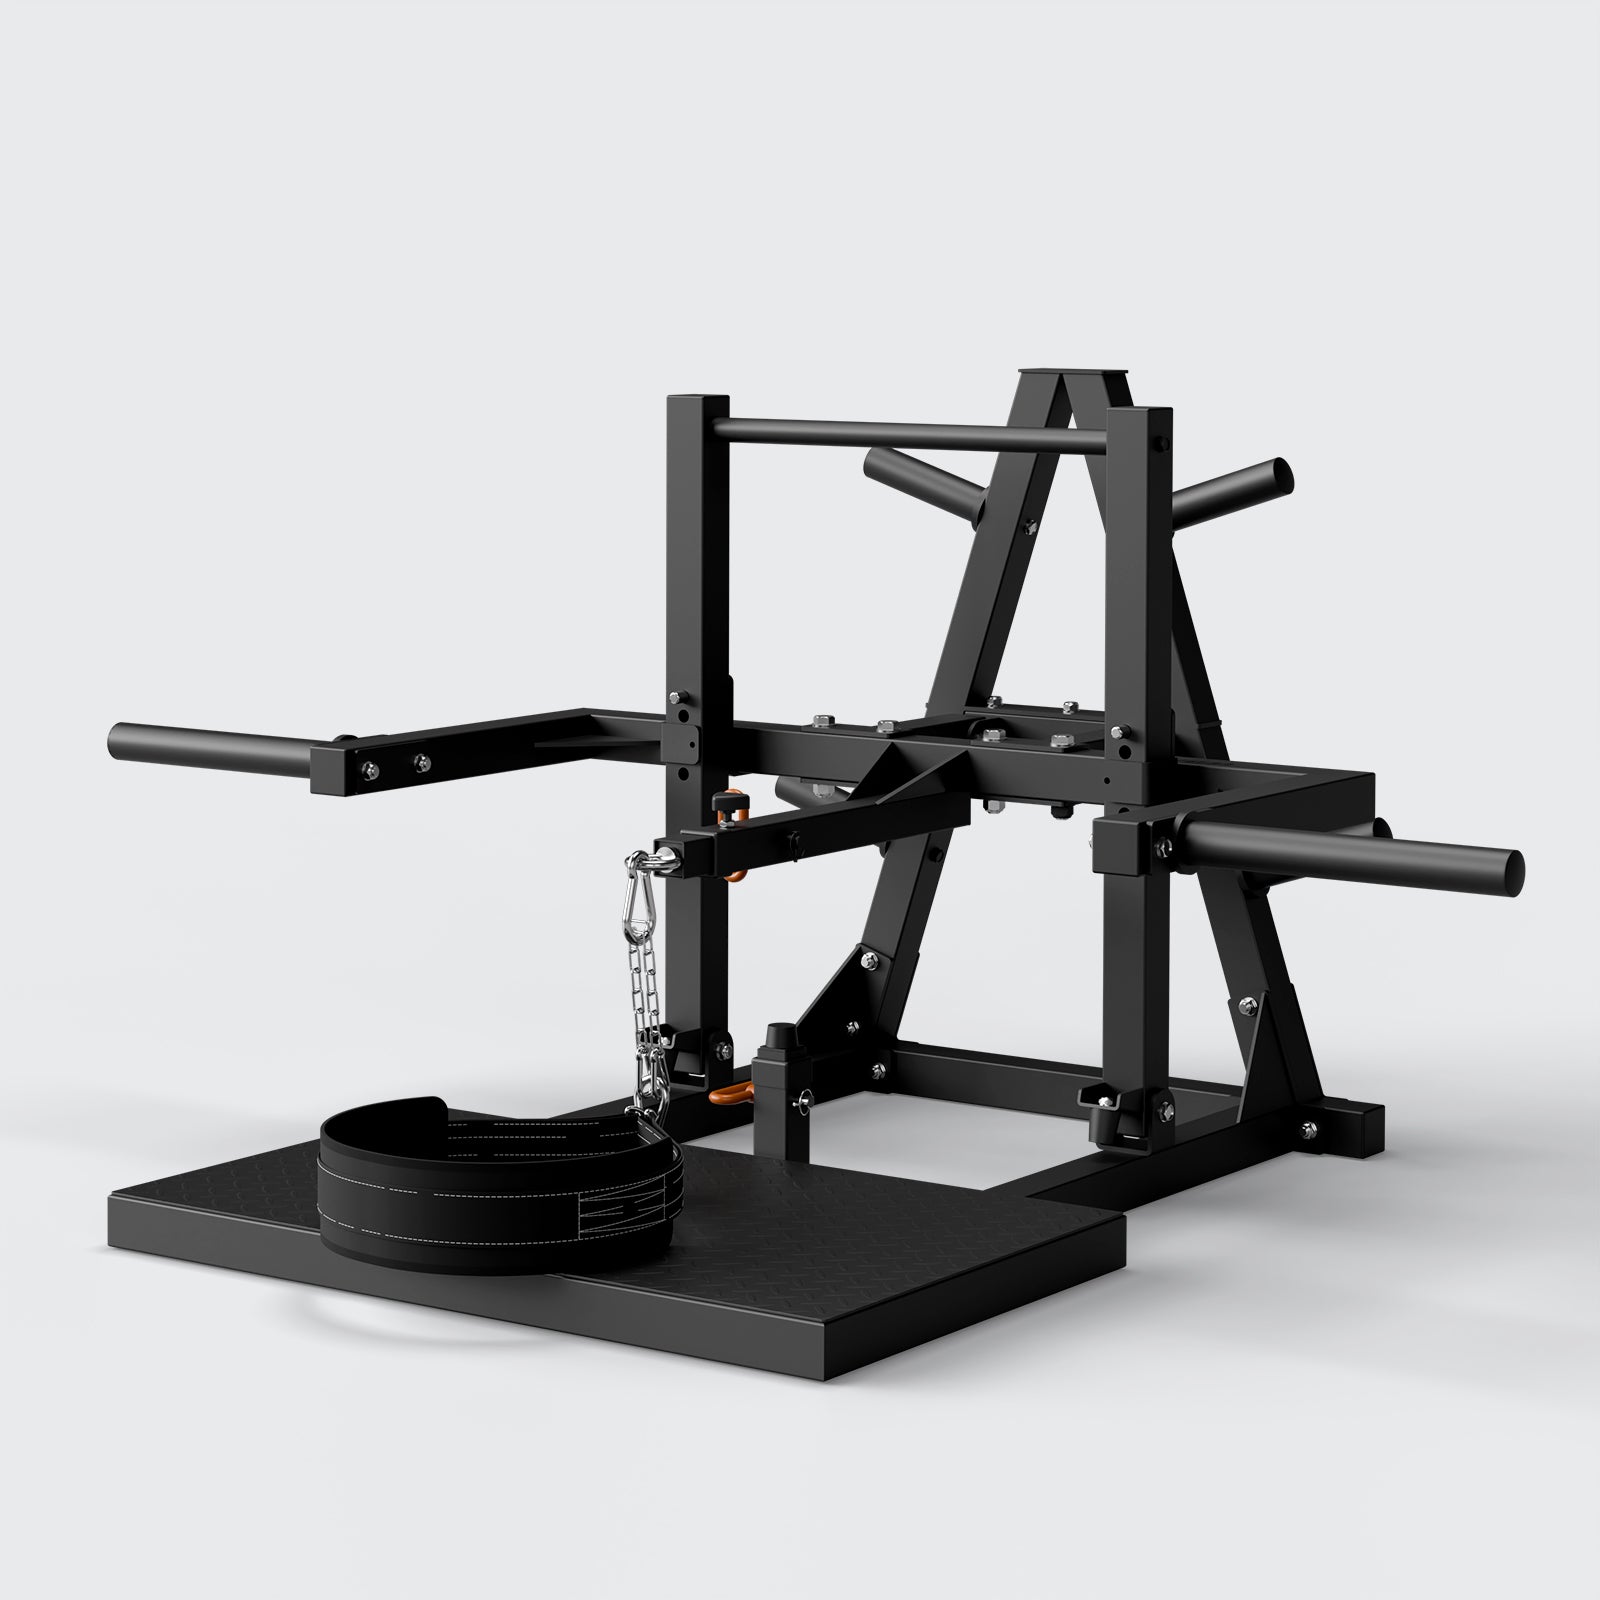
How It Works: Hip thrusts can be performed with just body weight, resistance bands, dumbbells, barbells, or specialized hip thrust machines. This makes them accessible to beginners and advanced lifters alike. You can adjust the difficulty by changing the resistance or modifying the exercise.
Improved Hip Extension Strength
Benefit: Hip thrusts enhance hip extension strength.
Why It’s Important: Strong hip extensors are crucial for powerful movements like sprinting and jumping.
How It Works: The hip thrust specifically targets the hip extensor muscles, particularly the glutes. By regularly performing hip thrusts, you can improve the strength and power of your hip extension, contributing to better performance in activities that require strong hip movements.
Enhanced Aesthetics
Benefit: Hip thrusts can improve the appearance of the glutes.
Why It’s Important: Many people aim to achieve a more toned and shapely backside for aesthetic reasons.
How It Works: By building muscle and reducing fat in the glute area, hip thrusts help to create a more defined and lifted appearance. This can boost confidence and body image.
Complement to Other Exercises
Benefit: Hip thrusts complement other lower body exercises.
Why It’s Important: A well-rounded workout routine should include a variety of exercises to target different muscle groups and movement patterns.
How It Works: Hip thrusts can be paired with squats, deadlifts, lunges, and other lower body exercises to create a comprehensive lower body workout. This combination ensures that all major muscles are targeted and strengthened, leading to balanced muscle development and improved overall fitness.
Proper Form for the Hip Thrust
1. Setup:
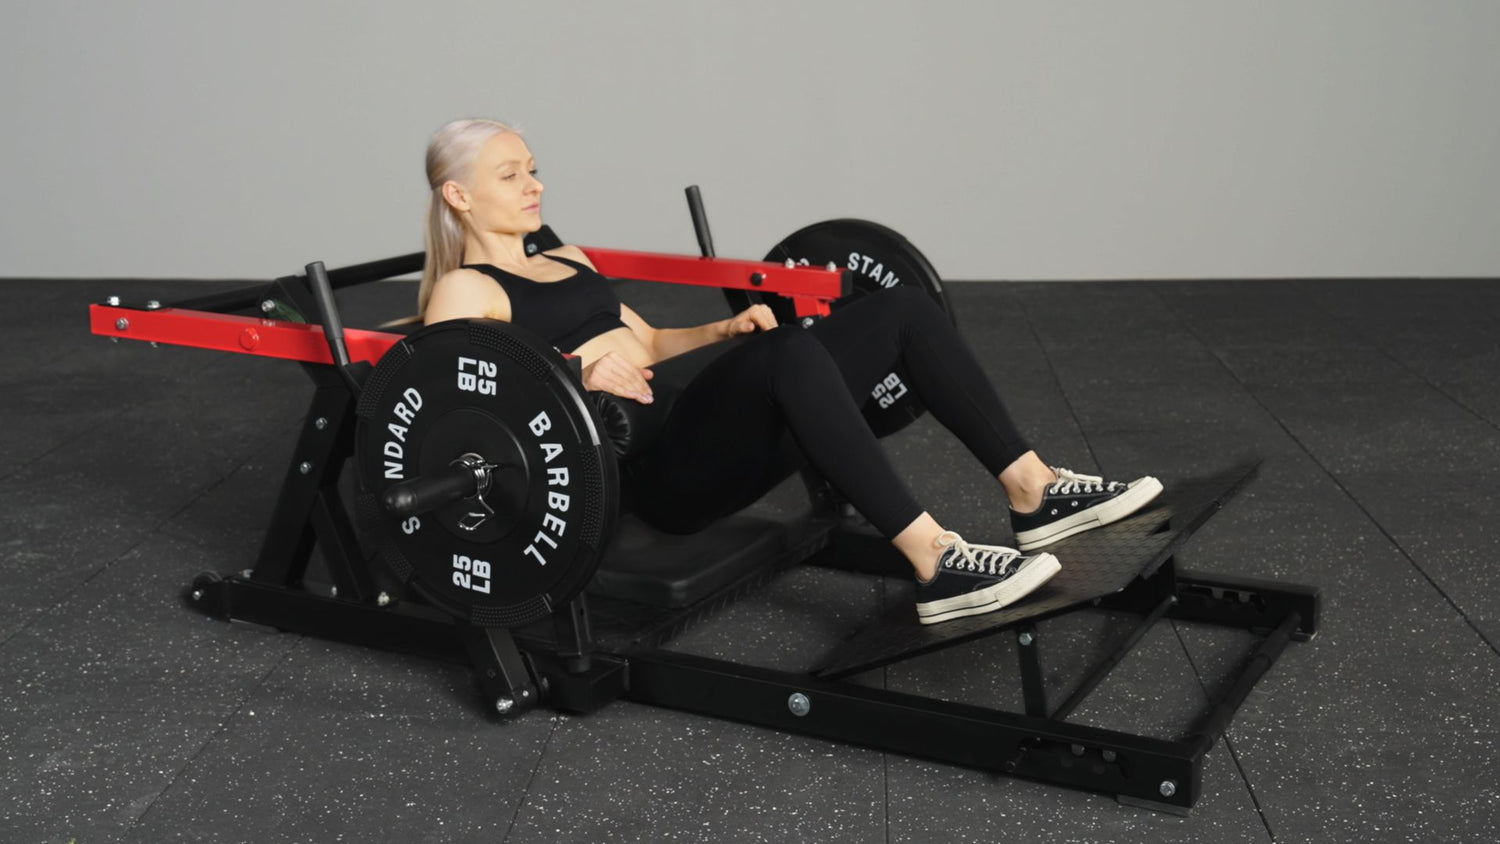
- Equipment: You'll need a sturdy bench and a barbell or a hip thrust machine. If using a barbell, a barbell pad or towel can help protect your hip bones.
- Positioning: Sit on the ground with your upper back against the edge of the bench. Roll the barbell over your legs until it rests comfortably on your hip crease. The bench should be placed against a wall or something stable to prevent it from moving.
2. Body Position:
- Feet Placement: Position your feet hip-width apart, with your knees bent at a 90-degree angle when you’re at the top of the movement. Your feet should be flat on the ground, pointing forward or slightly outward.
- Upper Back Position: Your upper back should rest on the bench, with the edge of the bench sitting just below your shoulder blades. This positioning helps to maintain stability and proper form during the hip thrust.
- Head and Neck Position: Keep your chin tucked towards your chest and your gaze forward or slightly down. Avoid hyperextending your neck to maintain a neutral spine throughout the exercise. Keeping your chin tucked helps prevent unnecessary strain on your neck and encourages proper alignment.
3. Execution:
- Initial Position: Begin with your hips on the ground, knees bent, and the barbell resting on your hips. Your feet should be flat on the floor, and your upper back should be firmly against the bench. Engage your core to stabilize your torso.
- Thrust Up: Drive through your heels and extend your hips vertically. Focus on squeezing your glutes as you lift the barbell. Your hips should rise until your body forms a straight line from your shoulders to your knees. Avoid overarching your lower back by engaging your core muscles.
- Top Position: At the top of the movement, your torso should be parallel to the ground, and your shins should be vertical. Hold this position for a brief moment to maximize glute contraction. Ensure your hips are fully extended, and your glutes are engaged.
- Lowering Phase: Slowly lower your hips back to the starting position, controlling the descent. Keep tension in your glutes and core throughout the lowering phase to maintain stability and form.
4. Breathing:
- Inhale: Take a deep breath as you lower your hips to the ground. This helps to stabilize your torso and maintain tension in your core.
- Exhale: Exhale forcefully as you thrust your hips up, engaging your core and glutes. Proper breathing helps to maintain intra-abdominal pressure and supports spinal stability.
Common Mistakes and How to Avoid Them
To ensure you're getting the most out of your hip thrusts and avoiding injury, it's important to be aware of common mistakes and how to correct them.
1. Hyperextending the Lower Back
Mistake: Overarching your lower back at the top of the movement.
Why It’s a Problem: Hyperextending the lower back shifts the focus away from the glutes and can place unnecessary strain on the lumbar spine, increasing the risk of injury.
Solution: Focus on keeping your core tight and maintaining a neutral spine. Your hips should stop at the point where your body forms a straight line from your shoulders to your knees. Avoid pushing your hips higher than this point, and instead, concentrate on squeezing your glutes.
2. Incorrect Foot Placement
Mistake: Placing your feet too far forward or too close to your body.
Why It’s a Problem: Incorrect foot placement can alter the angle of your knees and affect glute activation. Feet that are too far forward may lead to hamstring dominance, while feet that are too close can place undue stress on the knees.
Solution: Ensure your feet are positioned so that your knees form a 90-degree angle at the top of the thrust. Your shins should be vertical, and your feet should be flat on the ground. This position helps target the glutes effectively and maintains proper alignment.
3. Not Fully Extending the Hips
Mistake: Stopping the movement before your hips are fully extended.
Why It’s a Problem: Failing to fully extend the hips reduces glute activation and limits the effectiveness of the exercise. Incomplete hip extension means the glutes are not being fully engaged.
Solution: Drive your hips up until your body forms a straight line from your shoulders to your knees. Ensure that your glutes are fully contracted at the top of the movement. Holding this position for a brief moment can help reinforce proper form and maximize muscle activation.
4. Allowing the Knees to Collapse Inward
Mistake: Letting your knees cave in during the thrust.
Why It’s a Problem: When the knees collapse inward, it indicates weak hip abductors and can place unnecessary strain on the knees, reducing the effectiveness of the hip thrust.
Solution: Keep your knees in line with your toes throughout the movement. To help maintain proper alignment, consider using a resistance band around your knees. This will provide additional feedback and encourage you to press outward, ensuring that your knees track correctly.
5. Relying on Momentum
Mistake: Using momentum rather than muscle strength to lift the barbell.
Why It’s a Problem: Relying on momentum reduces the involvement of the glutes and other target muscles. It also increases the risk of losing control of the barbell, leading to potential injury.
Solution: Perform the movement in a slow and controlled manner. Focus on muscle engagement, particularly the glutes, rather than using speed to complete the exercise. Control both the upward and downward phases of the thrust to maintain constant tension on the muscles.
6. Improper Bench Height
Mistake: Using a bench that's too high or too low.
Why It’s a Problem: An incorrectly sized bench can affect your body alignment and the range of motion, reducing the effectiveness of the hip thrust.
Solution: The bench height should allow your upper back to rest comfortably while keeping your torso parallel to the ground at the top of the movement. Typically, a bench height of about 16 inches (40 cm) works well for most people. Adjust as necessary to ensure proper alignment and comfort.
7. Neglecting Core Engagement
Mistake: Failing to engage the core throughout the movement.
Why It’s a Problem: A disengaged core can lead to lower back strain and reduced stability, making the exercise less effective and increasing the risk of injury.
Solution: Actively engage your core muscles by pulling your belly button towards your spine. Maintain this engagement throughout the entire movement to support your lower back and enhance overall stability.
8. Incorrect Barbell Placement
Mistake: Placing the barbell too high or too low on the hips.
Why It’s a Problem: Incorrect barbell placement can cause discomfort and reduce the efficiency of the hip thrust.
Solution: Position the barbell directly over your hip bones. Using a barbell pad or a towel can help distribute the weight more evenly and reduce discomfort. Ensure the barbell remains stable throughout the movement.
9. Overloading the Barbell Too Quickly
Mistake: Adding too much weight too soon.
Why It’s a Problem: Overloading the barbell can compromise your form and increase the risk of injury, particularly if your muscles are not yet conditioned to handle the extra weight.
Solution: Start with a weight that allows you to perform the exercise with perfect form. Gradually increase the weight as you become stronger and more comfortable with the movement. Prioritize form over the amount of weight lifted.
10. Insufficient Warm-Up
Mistake: Skipping the warm-up or performing an inadequate warm-up.
Why It’s a Problem: A proper warm-up is essential for preparing the muscles and joints for exercise, reducing the risk of injury and improving performance.
Solution: Perform a thorough warm-up that includes dynamic stretches and activation exercises targeting the glutes and hips. Examples include glute bridges, bodyweight hip thrusts, and banded side steps. Spend at least 5-10 minutes warming up before progressing to weighted hip thrusts.
By being aware of these common mistakes and implementing the suggested solutions, you can ensure that your hip thrusts are both safe and effective. Proper form is key to maximizing glute activation and achieving your fitness goals.
Tips for Effective Hip Thrusts
To maximize the benefits of hip thrusts and ensure safe and effective workouts, it's important to follow these detailed tips:
Warm-Up Properly
Activate Your Glutes: Before loading the barbell, it’s crucial to properly warm up and activate your glute muscles. Start with bodyweight exercises such as glute bridges, bodyweight hip thrusts, and dynamic stretches. These exercises help to engage the glutes, improve blood flow to the muscles, and prepare your body for the heavier lifts. Spend at least 5-10 minutes on your warm-up to ensure your glutes are fully activated and ready to work.
Example Warm-Up Routine:
- Glute Bridges: 2 sets of 15-20 reps
- Bodyweight Hip Thrusts: 2 sets of 15-20 reps
- Dynamic Hip Flexor Stretch: 2 sets of 30 seconds each side
- Band Side Steps: 2 sets of 15 steps each direction
Progressive Overload
Gradually Increase Weight: To continue challenging your muscles and promoting growth, progressively increase the weight you lift. Start with a weight that allows you to perform the exercise with proper form. As you become more comfortable and stronger, gradually add more weight in small increments. Aim to increase the weight every few weeks, ensuring that your form remains correct and you are not compromising your technique for heavier loads.
Tracking Progress: Keep a workout journal or use a fitness app to record the weights you lift and track your progress. This helps you monitor improvements and make necessary adjustments to your training plan.
Focus on Mind-Muscle Connection
Concentrate on Squeezing Your Glutes: The mind-muscle connection is crucial for maximizing muscle activation. During the hip thrust, focus on squeezing your glutes as hard as possible at the top of the movement. Visualize your glutes doing all the work to lift the barbell, rather than relying on momentum. This intentional focus helps ensure that your glutes are fully engaged throughout the entire range of motion, leading to better muscle activation and growth.
Controlled Movements: Perform each repetition in a slow and controlled manner, especially during the lowering phase. This helps maintain tension in the muscles and prevents using momentum to complete the lift.
Consistency
Regular Routine: Consistency is key to seeing results from hip thrusts. Incorporate hip thrusts into your regular workout routine, aiming to perform them 2-3 times per week. Ensure you have adequate rest days between sessions to allow your muscles to recover and grow. Consistent practice helps reinforce proper form, improves muscle activation, and leads to better strength and hypertrophy over time.
Variation: To keep your workouts interesting and continue challenging your muscles, vary your hip thrust routine. Incorporate different variations such as single-leg hip thrusts, banded hip thrusts, or elevated hip thrusts. This not only helps prevent plateaus but also ensures balanced muscle development.
By following these detailed tips, you can ensure that your hip thrusts are both safe and effective, leading to optimal glute development and overall strength gains. Remember, proper form and consistency are essential for achieving the best results from your hip thrust exercises.
Variations of Hip Thrust
Incorporating different variations of hip thrusts into your workout routine can help target the glutes in various ways, prevent plateaus, and keep your workouts engaging. Here are some effective hip thrust variations to consider:
Single-Leg Hip Thrust: Perform with one leg off the ground to enhance balance and correct muscle imbalances.
Banded Hip Thrust: Use a resistance band above the knees to increase glute activation and improve knee stability.
Elevated Hip Thrust: Place feet on a platform to increase range of motion and glute activation.
Barbell Hip Thrust: Use a barbell for added resistance, ideal for building strength and muscle mass.
Dumbbell Hip Thrust: Place a dumbbell on your lap for resistance, suitable for beginners.
Smith Machine Hip Thrust: Use a Smith machine for added stability and focused glute activation.
Frequently Asked Questions (FAQs)
Q: How much weight should I use for hip thrusts?
A: Start with a weight that allows you to perform the exercise with proper form. Gradually increase the weight as you become more comfortable and stronger. It’s important to prioritize form over the amount of weight lifted.
Q: How often should I perform hip thrusts?
A: Incorporate hip thrusts into your lower body workouts 2-3 times per week, allowing adequate recovery between sessions. Consistency is key to seeing progress and improvements in glute strength and development.
Q: Can hip thrusts replace squats in my routine?
A: While hip thrusts are excellent for glute development, they should complement, not replace, compound movements like squats and deadlifts for a well-rounded lower body workout. Each exercise targets muscles differently and contributes to overall strength and functional fitness.
Mastering the hip thrust takes practice and attention to detail, but the rewards are well worth the effort. By following the proper form and avoiding common mistakes, you can ensure that your hip thrusts are both safe and effective. Whether your goal is to build strength, improve performance, or enhance your physique, the hip thrust is a powerful exercise to include in your fitness arsenal.








Leave a comment
All comments are moderated before being published.
This site is protected by hCaptcha and the hCaptcha Privacy Policy and Terms of Service apply.