Whether you're a seasoned athlete or just beginning your fitness journey, the hip thrust machine is a powerful tool for building strength and enhancing your lower body workouts. This guide will walk you through everything you need to know about using the hip thrust machine effectively and safely, ensuring you maximize your gains and prevent injury.
Understanding the Hip Thrust Machine
The hip thrust machine is a specialized piece of gym equipment designed to target the gluteal muscles, particularly the gluteus maximus, medius, and minimus. Unlike traditional squats or lunges, hip thrusts focus primarily on hip extension, making them highly effective for building stronger and more defined glutes.
How It Works
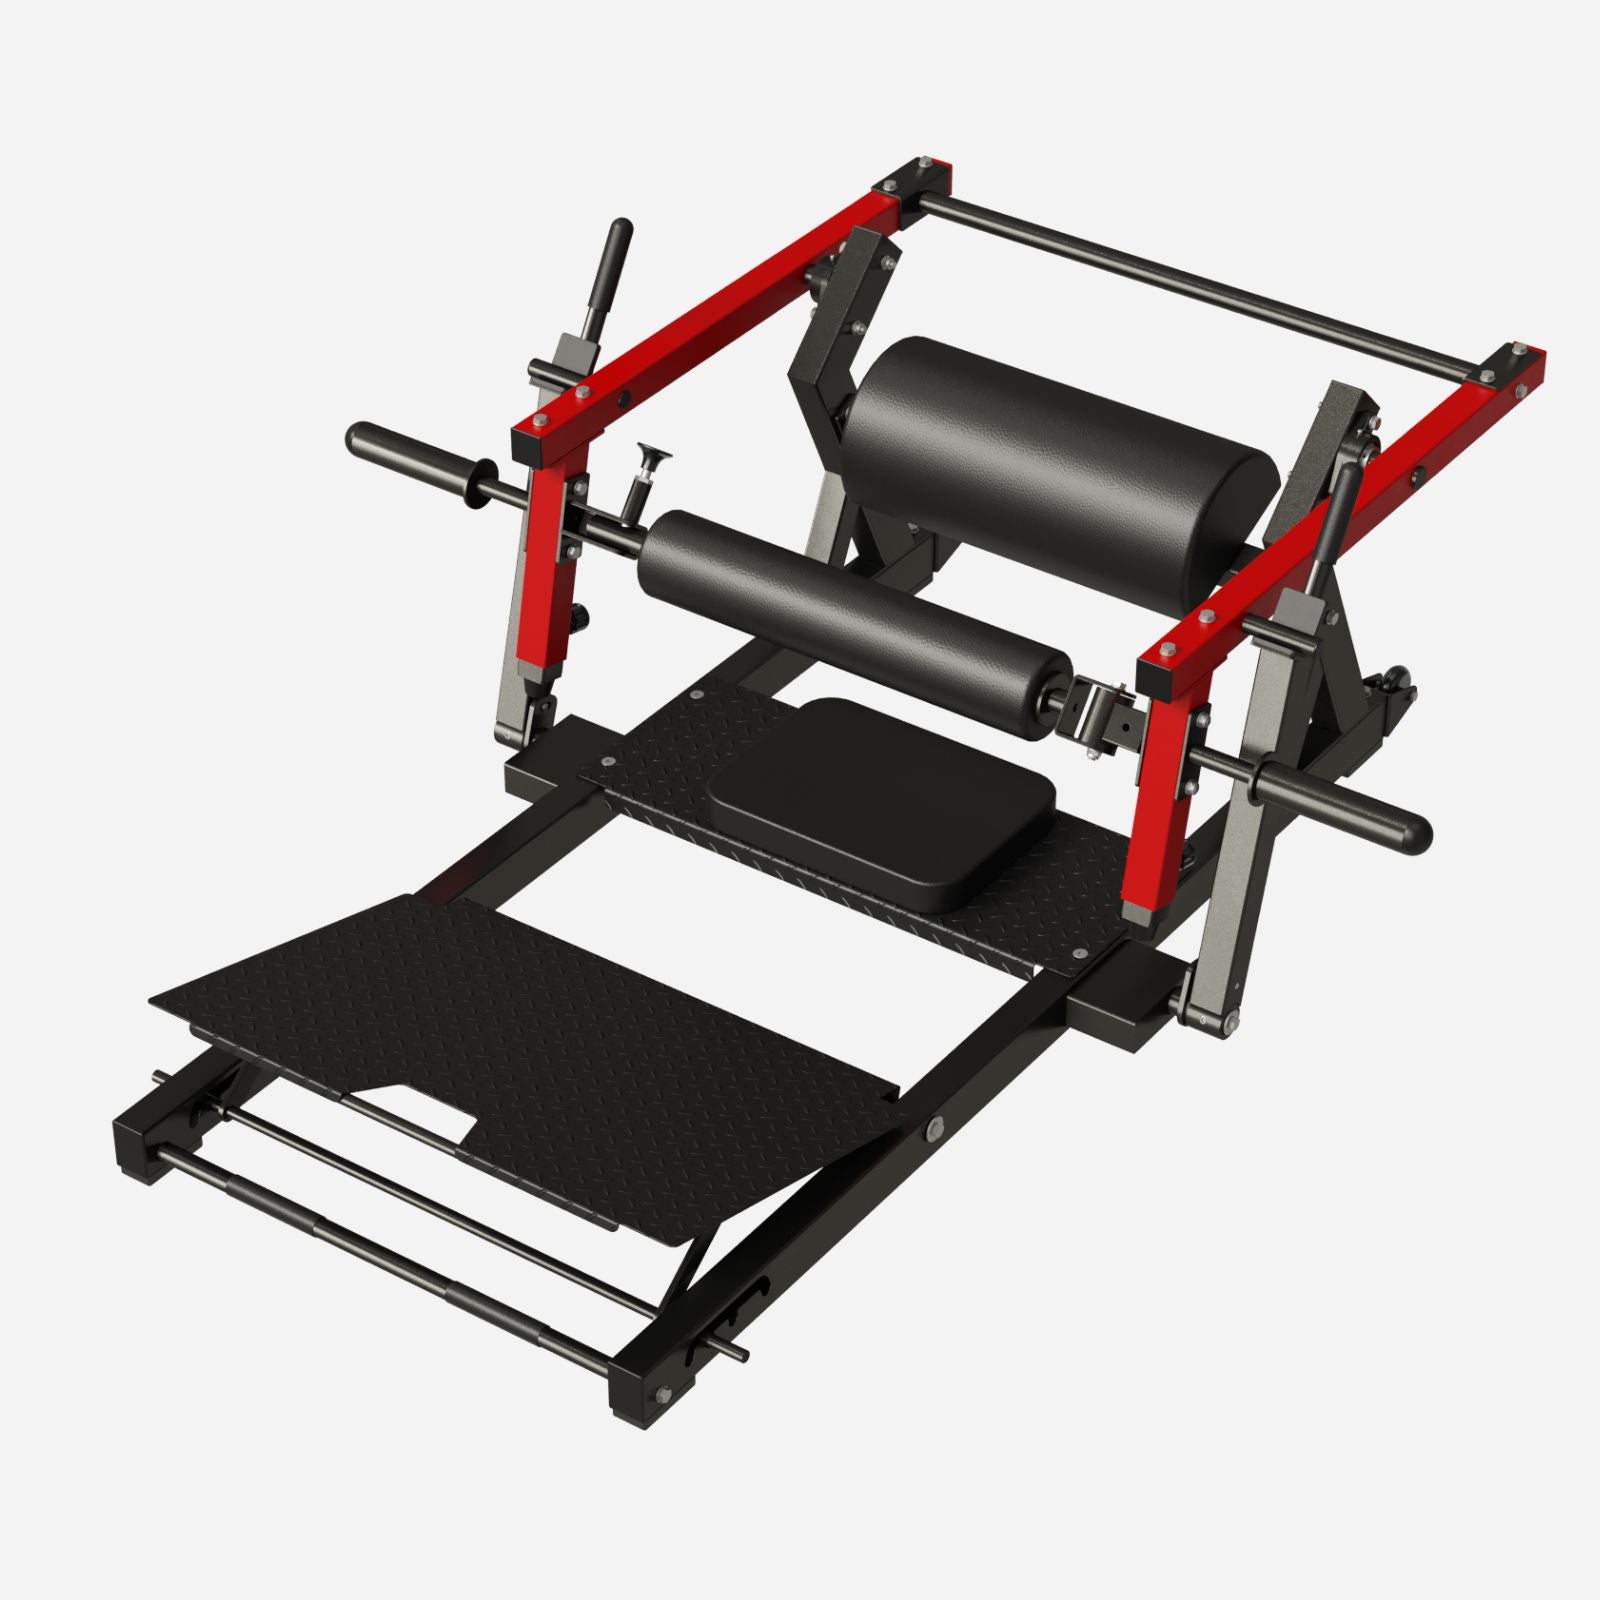
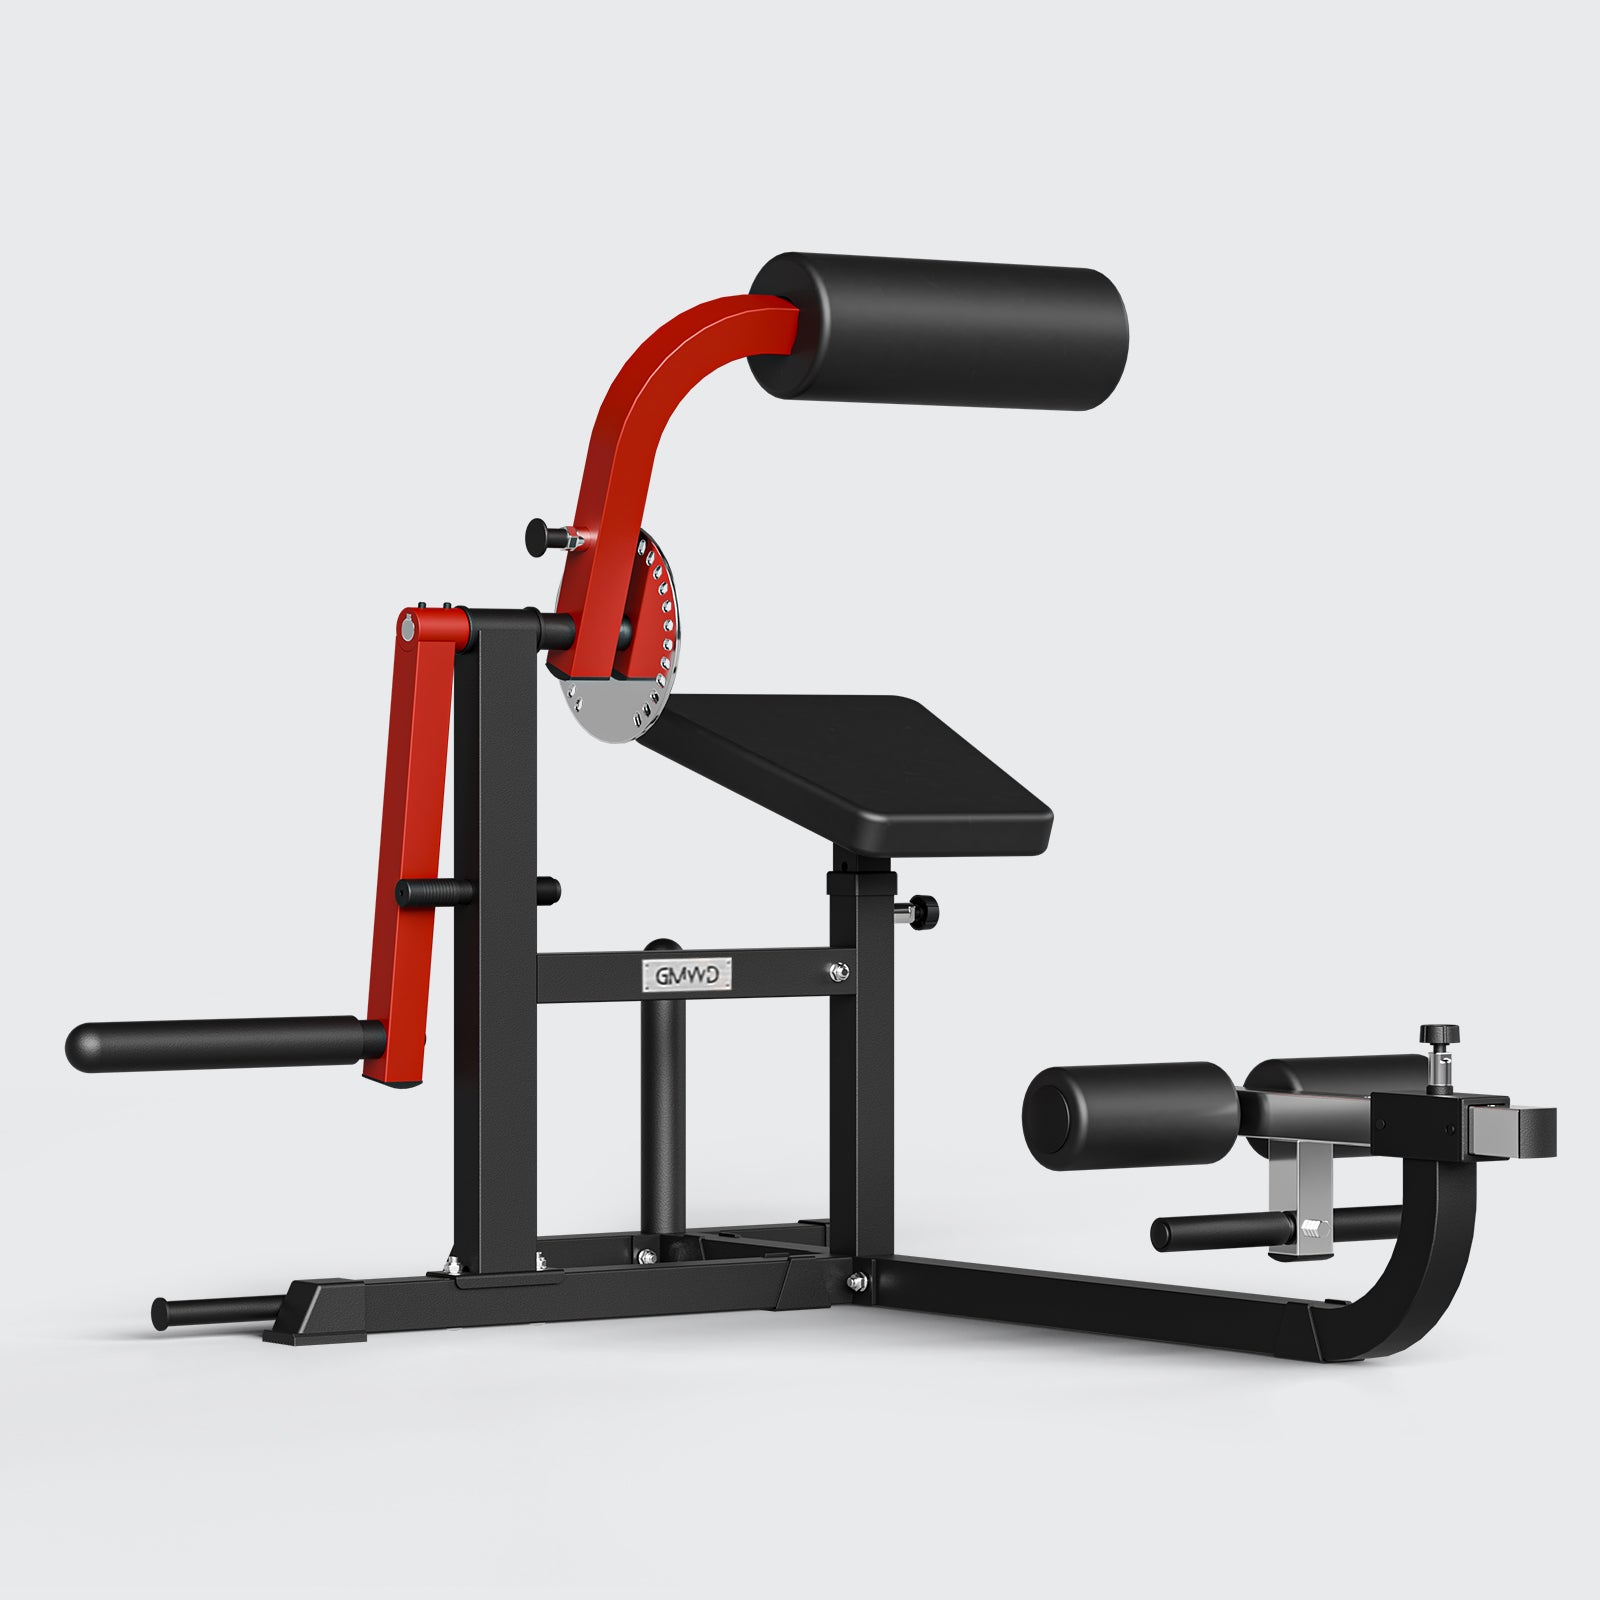
The machine typically consists of a padded bench for your upper back, a bar or pad to rest across your hips, and a platform for placing your feet. By performing a hip thrust, you engage your glutes and hamstrings through a controlled hip extension movement, allowing for isolated muscle activation.
Benefits of Using the Hip Thrust Machine
Incorporating the hip thrust machine into your fitness regimen offers numerous advantages:
- Enhanced Glute Strength: Directly targets the glute muscles, promoting hypertrophy and strength.
- Improved Athletic Performance: Strong glutes contribute to better performance in activities like sprinting, jumping, and lifting.
- Injury Prevention: Strengthening the glutes supports the lower back and reduces the risk of injuries related to the hips and knees.
- Versatility: Suitable for various fitness levels, from beginners to advanced lifters.
- Better Posture: Strong glutes help maintain proper spinal alignment and posture.
Setting Up the Hip Thrust Machine
Proper setup is crucial for effective and safe hip thrusts. Follow these steps to prepare the machine:
- Adjust the Bench Height: Position the bench so that when seated, your upper back is comfortably supported, and your feet can rest flat on the ground.
- Set the Foot Platform: Ensure the foot platform is at a distance that allows your knees to bend at approximately 90 degrees during the thrust.
- Position the Hip Pad: Adjust the hip pad to rest securely across your hip bones, providing cushioning without restricting movement.
- Load the Weight: Start with a manageable weight to master the form before increasing resistance.
Proper Technique for Hip Thrusts
Executing hip thrusts with correct form maximizes benefits and minimizes the risk of injury. Here's a step-by-step guide:
-
Starting Position:
- Sit on the ground with your upper back against the bench.
- Roll the hip pad over your hips, ensuring it’s centered.
- Place your feet flat on the platform, shoulder-width apart.
-
Engage Your Core:
- Tighten your abdominal muscles to stabilize your spine.
- Keep your neck in a neutral position, avoiding strain.
-
Perform the Thrust:
- Drive through your heels, extending your hips upward.
- Squeeze your glutes at the peak of the movement.
- Your body should form a straight line from your shoulders to your knees.
-
Lower Back Down:
- Slowly lower your hips back to the starting position without touching the ground.
- Maintain tension in your glutes and hamstrings throughout.
-
Repeat:
- Perform the desired number of repetitions, maintaining controlled movements.
Common Mistakes to Avoid
Avoid these pitfalls to ensure effective and safe hip thrusts:
- Overextending the Lower Back: Focus on hinging at the hips, not arching the lower back.
- Incorrect Foot Placement: Feet too far forward or back can reduce glute activation.
- Using Excessive Weight: Prioritize form over heavy weights to prevent injury.
- Neglecting Core Engagement: A weak core can lead to instability and poor form.
- Incomplete Range of Motion: Ensure full hip extension and proper lowering for maximum benefits.
Advanced Hip Thrust Variations
Once you've mastered the basic hip thrust, consider these advanced variations to further challenge your muscles:
- Single-Leg Hip Thrusts: Increase intensity by performing the exercise one leg at a time.
- Paused Hip Thrusts: Hold the top position for a few seconds to enhance muscle contraction.
- Banded Hip Thrusts: Add resistance bands to increase tension on the glutes.
- Barbell Hip Thrusts: Transition to using a barbell for greater load capacity.
Incorporating Hip Thrusts into Your Workout Routine
To effectively integrate hip thrusts into your fitness regimen, consider the following tips:
- Frequency: Include hip thrusts 2-3 times per week for optimal glute development.
- Sets and Reps: Aim for 3-4 sets of 8-12 repetitions, adjusting based on your fitness level.
- Combine with Other Exercises: Pair hip thrusts with squats, deadlifts, and lunges for a comprehensive lower body workout.
- Progressive Overload: Gradually increase the weight or resistance to continue making strength gains.
Safety Tips and Precautions
Ensure a safe workout with these guidelines:
- Warm Up Properly: Engage in dynamic stretches or light cardio to prepare your muscles.
- Use Proper Equipment: Ensure the machine is adjusted correctly to your body dimensions.
- Listen to Your Body: Avoid pushing through pain; if something feels off, reassess your form or reduce the weight.
- Maintain Control: Perform movements smoothly without jerking or using momentum.
Frequently Asked Questions
1. How often should I perform hip thrusts?
For optimal results, perform hip thrusts 2-3 times a week, allowing at least 48 hours of rest between sessions for muscle recovery.
2. Can hip thrusts help with lower back pain?
Strengthening the glutes can support the lower back and improve posture, potentially alleviating lower back pain. However, consult a healthcare professional before starting any new exercise regimen.
3. What muscles are targeted during hip thrusts?
Hip thrusts primarily target the gluteus maximus, medius, and minimus, as well as the hamstrings and lower back muscles.
4. Can beginners use the hip thrust machine?
Absolutely. Beginners should start with lighter weights to master the form before progressing to heavier resistance.
5. How do I increase the difficulty of hip thrusts?
Increase the weight, perform single-leg variations, add pauses, or incorporate resistance bands to make hip thrusts more challenging.
Conclusion
The hip thrust machine is a versatile and highly effective tool for building strong, powerful glutes and enhancing overall lower body strength. By understanding the proper setup, technique, and incorporating it thoughtfully into your workout routine, you can achieve significant fitness gains while minimizing the risk of injury. Remember to start with manageable weights, focus on form, and gradually increase resistance to continue progressing towards your fitness goals. Whether you're aiming for athletic performance, aesthetic improvements, or functional strength, mastering the hip thrust machine can be a game-changer in your fitness journey.










Leave a comment
All comments are moderated before being published.
This site is protected by hCaptcha and the hCaptcha Privacy Policy and Terms of Service apply.