Hip thrusts are renowned for their effectiveness in building strong, well-defined glutes and enhancing overall lower body strength. When performed using a hip thrust machine, the exercise becomes even more accessible and efficient, allowing for precise adjustments and targeted muscle engagement. Incorporating a weightlifting belt into your hip thrust routine can further enhance performance by providing additional support and stability. This comprehensive guide explores how to effectively use a hip thrust machine with a belt, ensuring you achieve optimal results while maintaining safety.
Understanding the Hip Thrust Machine
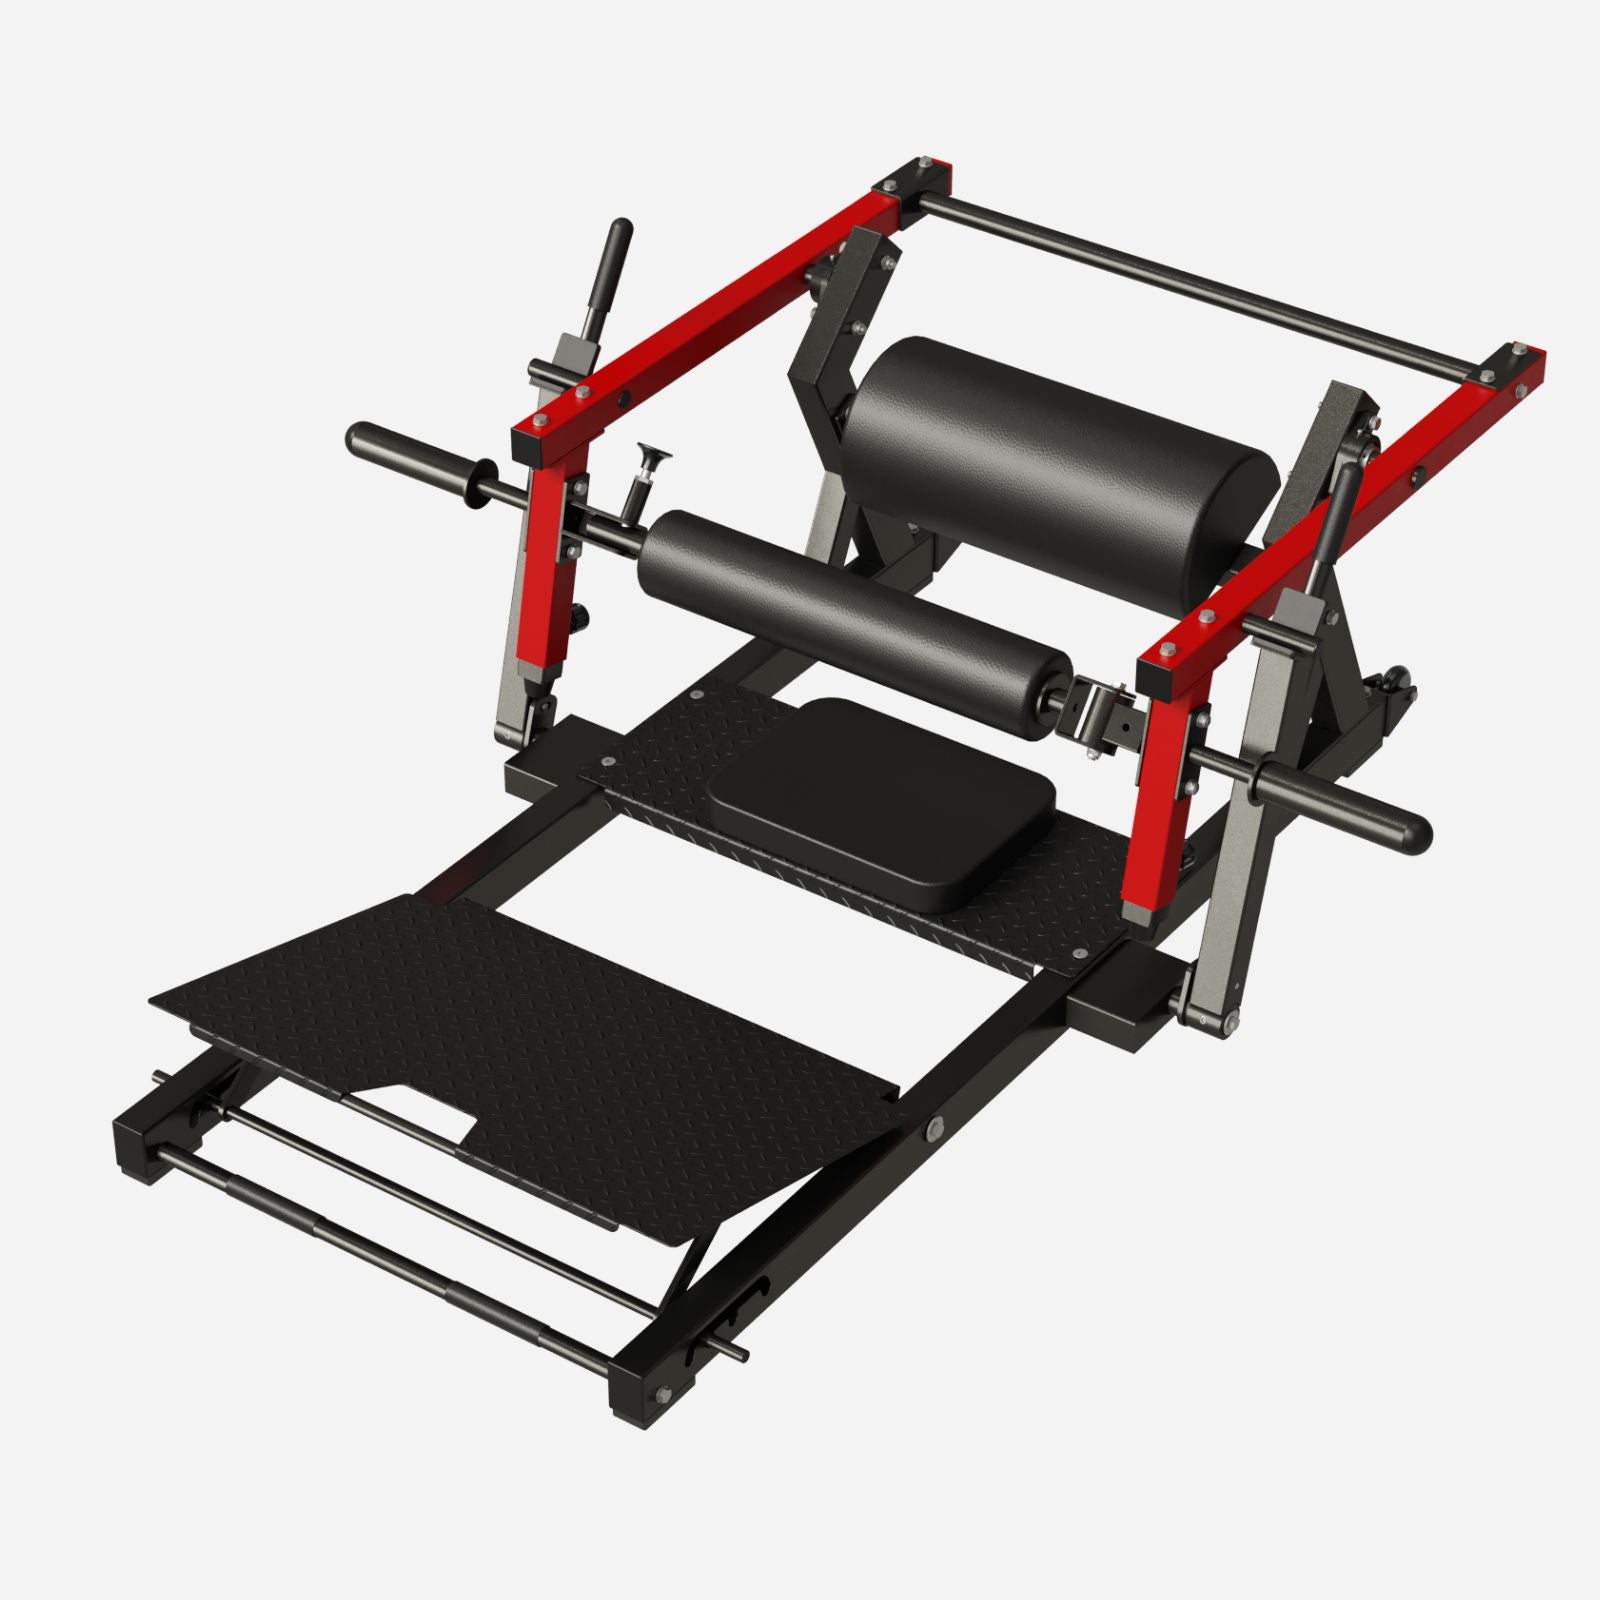
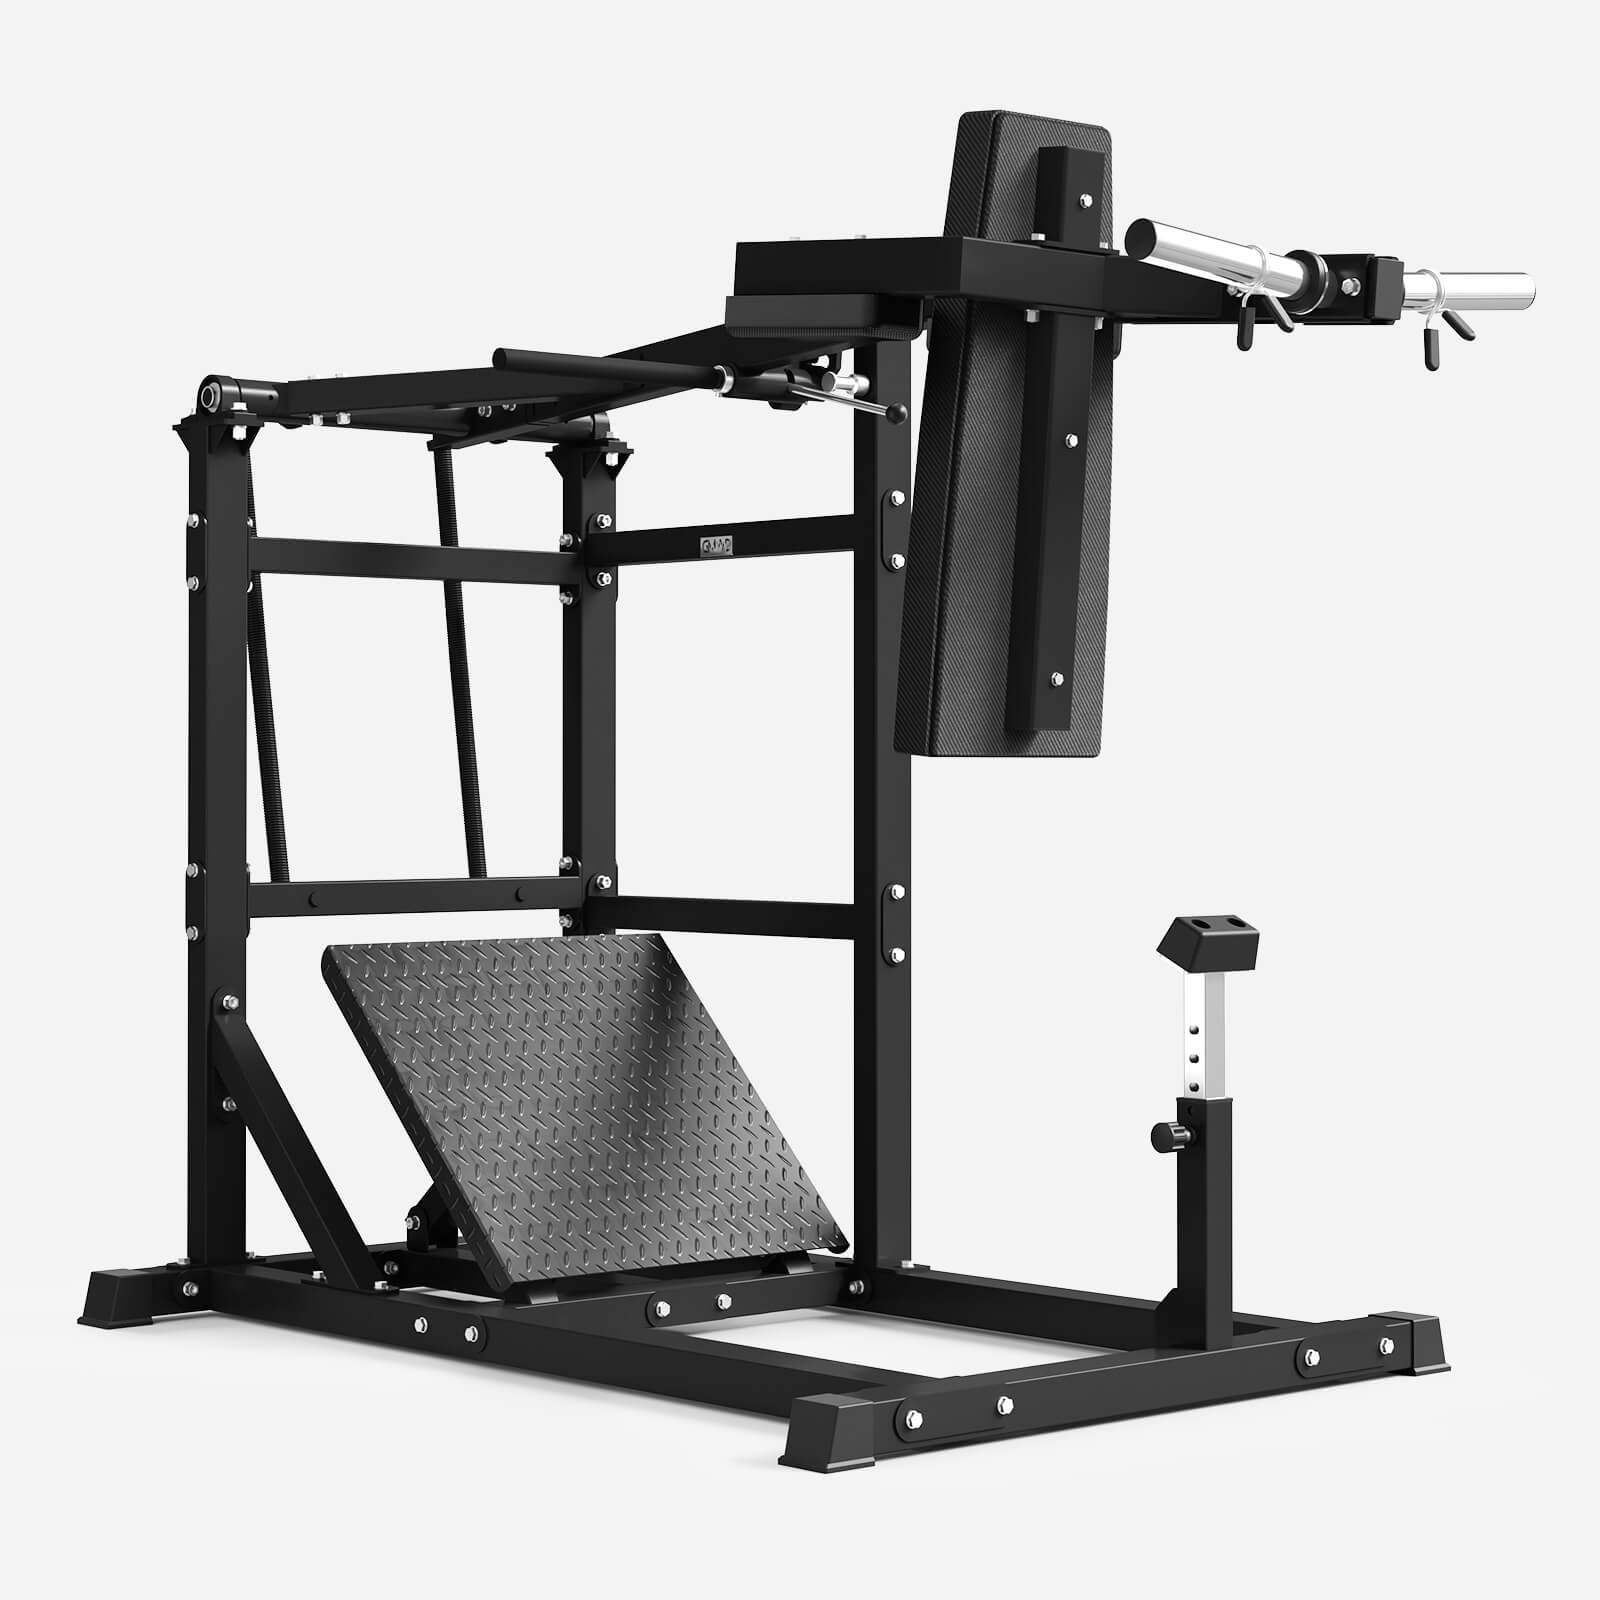
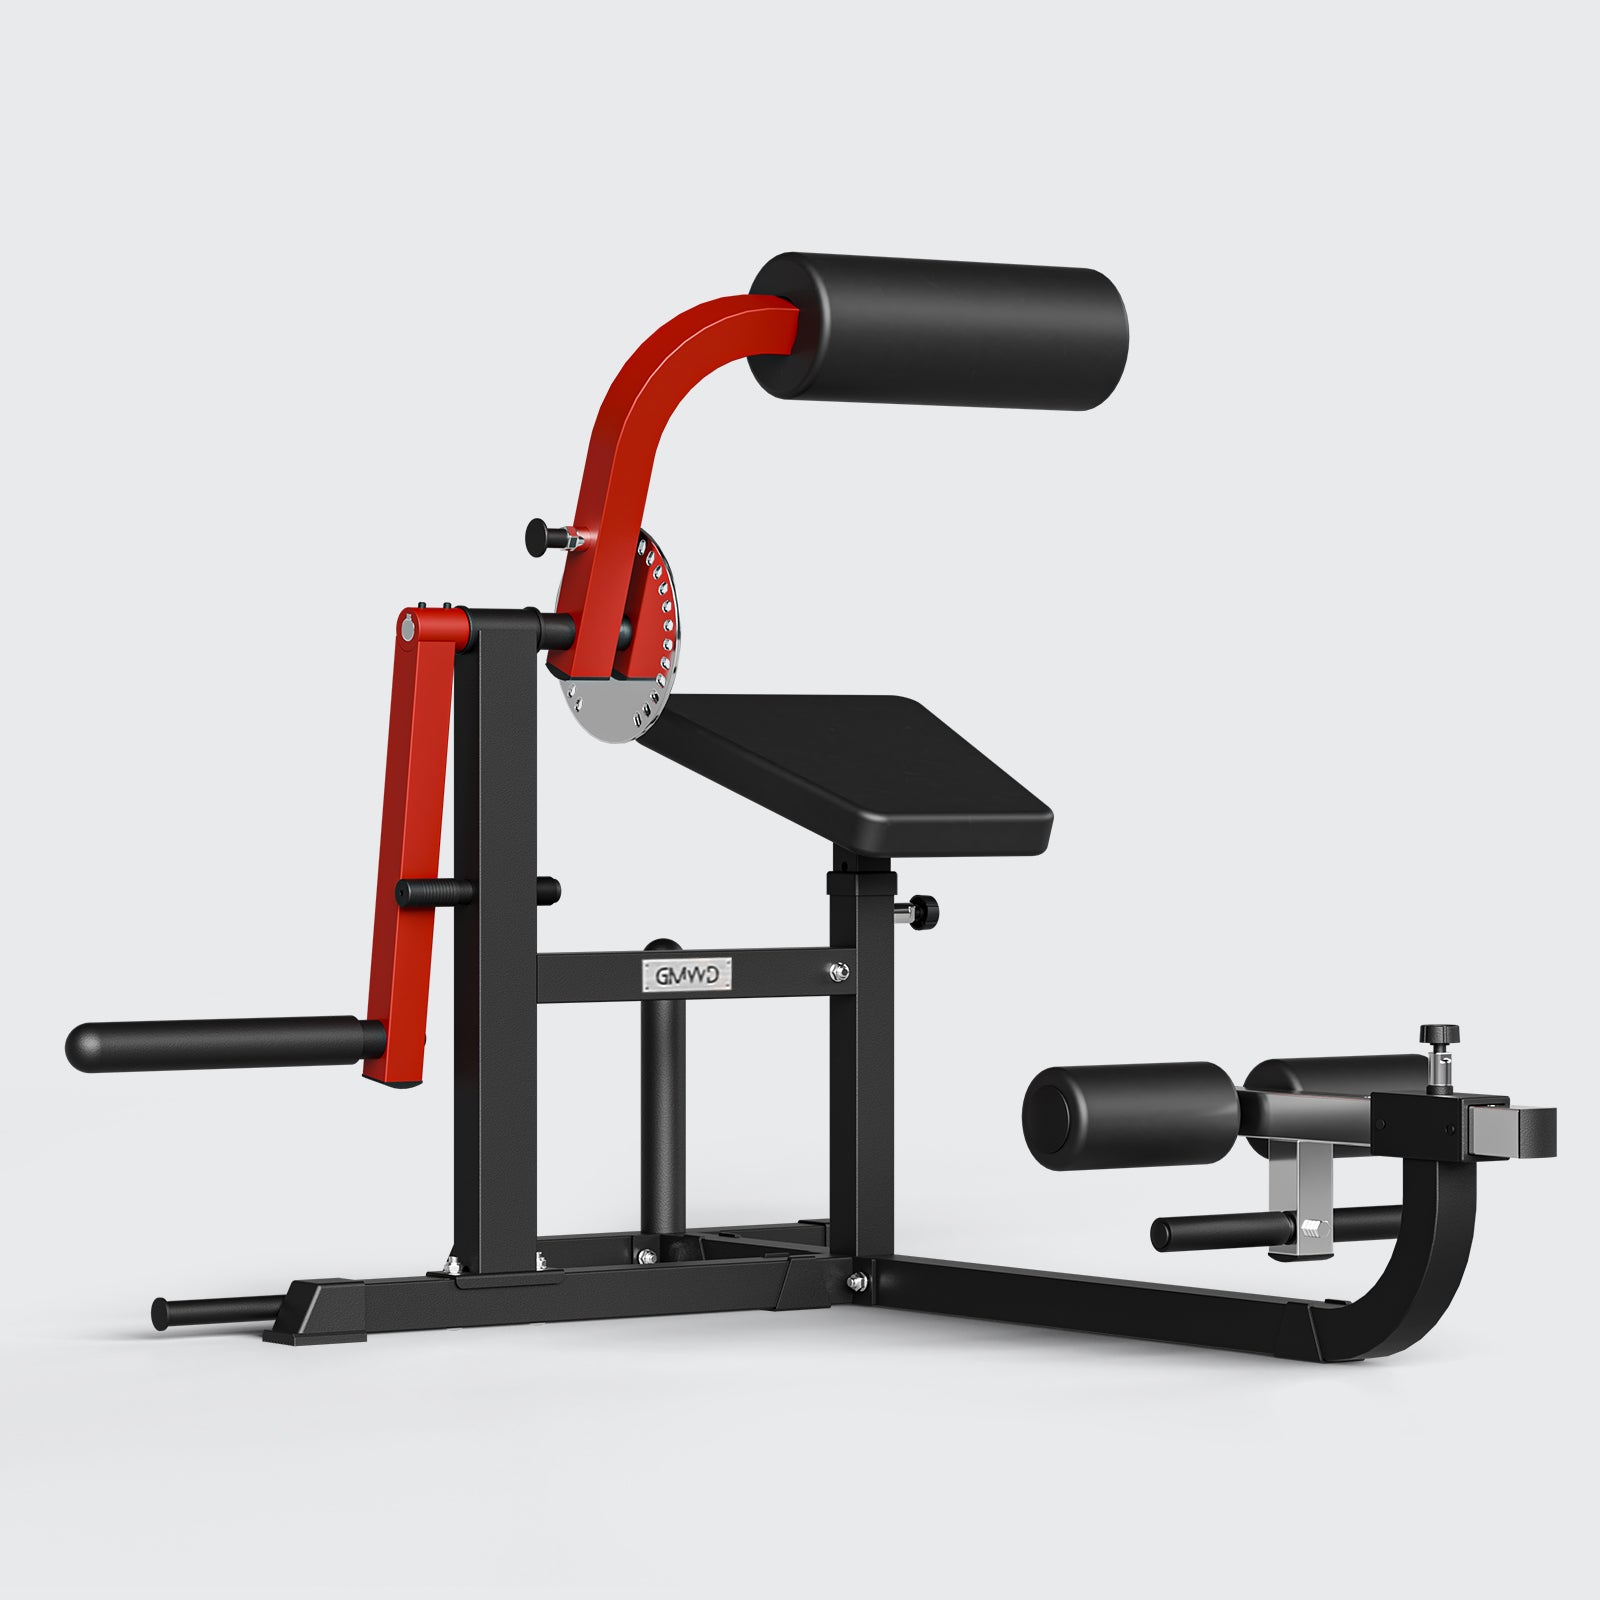
The hip thrust machine is a specialized piece of gym equipment designed to facilitate the hip thrust exercise with enhanced stability and support. Unlike free-weight hip thrusts, the machine often includes features such as adjustable padding, guided bar paths, and secure weight stacks, making it easier to maintain proper form and focus on muscle engagement. This setup is particularly beneficial for isolating the glutes and hamstrings, reducing the involvement of ancillary muscles.
Benefits of Using a Belt with the Hip Thrust Machine
Incorporating a weightlifting belt into your hip thrust routine offers several advantages:
- Enhanced Core Stability: A belt helps stabilize the spine by increasing intra-abdominal pressure, providing a solid foundation for heavy lifts.
- Improved Posture: Encourages proper alignment of the back, reducing the risk of rounding or overarching during the movement.
- Increased Performance: By offering additional support, a belt can allow you to lift heavier weights more safely, promoting muscle growth and strength gains.
- Injury Prevention: Minimizes the risk of lower back injuries by maintaining spinal integrity throughout the exercise.
Essential Equipment
Before diving into the hip thrust machine with a belt, ensure you have the following equipment:
- Hip Thrust Machine: Make sure the machine is in good condition and properly adjusted to your body.
- Weightlifting Belt: Choose a belt that fits snugly around your waist without restricting movement.
- Appropriate Footwear: Wear stable, flat shoes to provide a solid base during the exercise.
- Glute Activation Tools (Optional): Resistance bands or foam rollers to activate the glutes before lifting.
Step-by-Step Guide to Using a Hip Thrust Machine with a Belt
1. Setting Up the Hip Thrust Machine
- Adjust the Padding: Ensure the shoulder pad and thigh support are positioned correctly to align with your body. The shoulder pad should rest comfortably on your upper back, while the thigh support should be placed just above your knees.
- Select the Weight: Choose an appropriate starting weight. If you're new to the exercise, begin with a lighter load to master the form before progressing to heavier weights.
2. Selecting and Wearing the Belt
- Choose the Right Belt: Opt for a weightlifting belt that provides adequate support without being overly bulky. Leather belts with a firm buckle are popular choices.
- Proper Placement: Position the belt around your waist, ensuring it sits just above your hip bones. It should be tight enough to provide support but not so tight that it restricts breathing or movement.
- Secure the Buckle: Fasten the belt snugly, allowing for some movement but maintaining stability.
3. Positioning Yourself on the Machine
- Sit on the Ground: Begin by sitting on the floor in front of the hip thrust machine.
- Place Your Upper Back on the Shoulder Pad: Lean back so that your upper back is firmly against the shoulder pad, ensuring your head and neck are comfortable.
- Position Your Feet: Place your feet flat on the ground, hip-width apart, with your knees bent at approximately 90 degrees.
- Roll the Belt Over: Position the padded end of the belt over your hips, ensuring it provides cushioning and support during the thrust.
4. Executing the Hip Thrust
- Engage Your Core: Tighten your abdominal muscles to stabilize your spine.
- Push Through Your Heels: Drive your hips upward by pushing through your heels, extending your hips until your body forms a straight line from your shoulders to your knees.
- Squeeze Your Glutes: At the peak of the movement, contract your glute muscles for maximum engagement.
- Controlled Descent: Slowly lower your hips back to the starting position, maintaining control to ensure muscle tension remains throughout the movement.
5. Repeating the Movement
- Repetitions: Aim for 8-12 reps per set for hypertrophy or 12-15 reps for muscular endurance.
- Sets: Perform 3-4 sets, adjusting based on your fitness level and training goals.
- Rest Periods: Allow 60-90 seconds of rest between sets to recover adequately.
Safety Precautions
- Proper Belt Use: Avoid relying solely on the belt for support. Ensure your core is engaged and maintain good form.
- Gradual Progression: Increase weights gradually to prevent overloading your muscles and joints.
- Warm-Up: Engage in a dynamic warm-up targeting the glutes, hamstrings, and lower back to prepare your muscles for the exercise.
- Monitor Form: Use mirrors or seek feedback from a trainer to ensure correct alignment and technique.
- Listen to Your Body: If you experience pain beyond typical muscle fatigue, stop the exercise and assess your form or consult a professional.
Common Mistakes to Avoid
- Overarching the Lower Back: Maintain a neutral spine to prevent strain on the lumbar region.
- Incorrect Belt Positioning: Ensure the belt is neither too high nor too low, which can compromise support and comfort.
- Foot Placement Errors: Placing feet too far forward or too close can reduce glute activation and strain the knees.
- Jerky Movements: Perform the thrust in a smooth, controlled manner to maximize muscle engagement and minimize injury risk.
- Incomplete Range of Motion: Fully extend and lower your hips to ensure comprehensive muscle activation.
Tips for Maximizing Your Hip Thrusts
- Mind-Muscle Connection: Focus on engaging your glutes throughout the movement for better results.
- Breathing Technique: Inhale during the lowering phase and exhale while thrusting upward.
- Use Resistance Bands: Adding bands around your thighs can increase glute activation and challenge your muscles further.
- Vary Your Tempo: Experiment with different lifting speeds to increase time under tension and stimulate muscle growth.
- Incorporate Progressive Overload: Gradually increase the weight or resistance to continuously challenge your muscles and promote growth.
Variations and Progressions
- Single-Leg Hip Thrusts: Perform the exercise one leg at a time to address muscle imbalances and increase difficulty.
- Paused Hip Thrusts: Incorporate a pause at the top of the movement to enhance muscle tension and control.
- Tempo Hip Thrusts: Slow down the lifting or lowering phase to increase time under tension and muscle engagement.
- Banded Hip Thrusts: Use resistance bands to add variable resistance and challenge your glutes in different ways.
Conclusion
Utilizing a hip thrust machine with a weightlifting belt is an effective strategy for maximizing glute development and lower body strength. The combination of machine stability and belt support allows for heavier lifts with proper form, enhancing muscle engagement and reducing injury risk. By following the step-by-step guide, adhering to safety precautions, and incorporating best practices, you can elevate your hip thrust routine to achieve impressive fitness results. Whether you're a beginner or an experienced lifter, mastering the use of a hip thrust machine with a belt can significantly contribute to your strength and aesthetic goals.










Leave a comment
All comments are moderated before being published.
This site is protected by hCaptcha and the hCaptcha Privacy Policy and Terms of Service apply.