Hip thrusts are a highly effective exercise for targeting the gluteal muscles, enhancing lower body strength, and improving athletic performance. Utilizing a Smith machine for hip thrusts can provide added stability and safety, making it an excellent option for both beginners and seasoned lifters. This guide will walk you through the precise setup required to perform hip thrusts on a Smith machine, ensuring optimal form and maximizing your workout results.
Understanding Hip Thrusts
Hip thrusts are a resistance training exercise primarily aimed at strengthening the gluteus maximus, gluteus medius, and hamstrings. By extending the hips from a seated position, this movement not only enhances muscle hypertrophy but also improves functional strength and athletic performance.
Benefits of Using a Smith Machine for Hip Thrusts
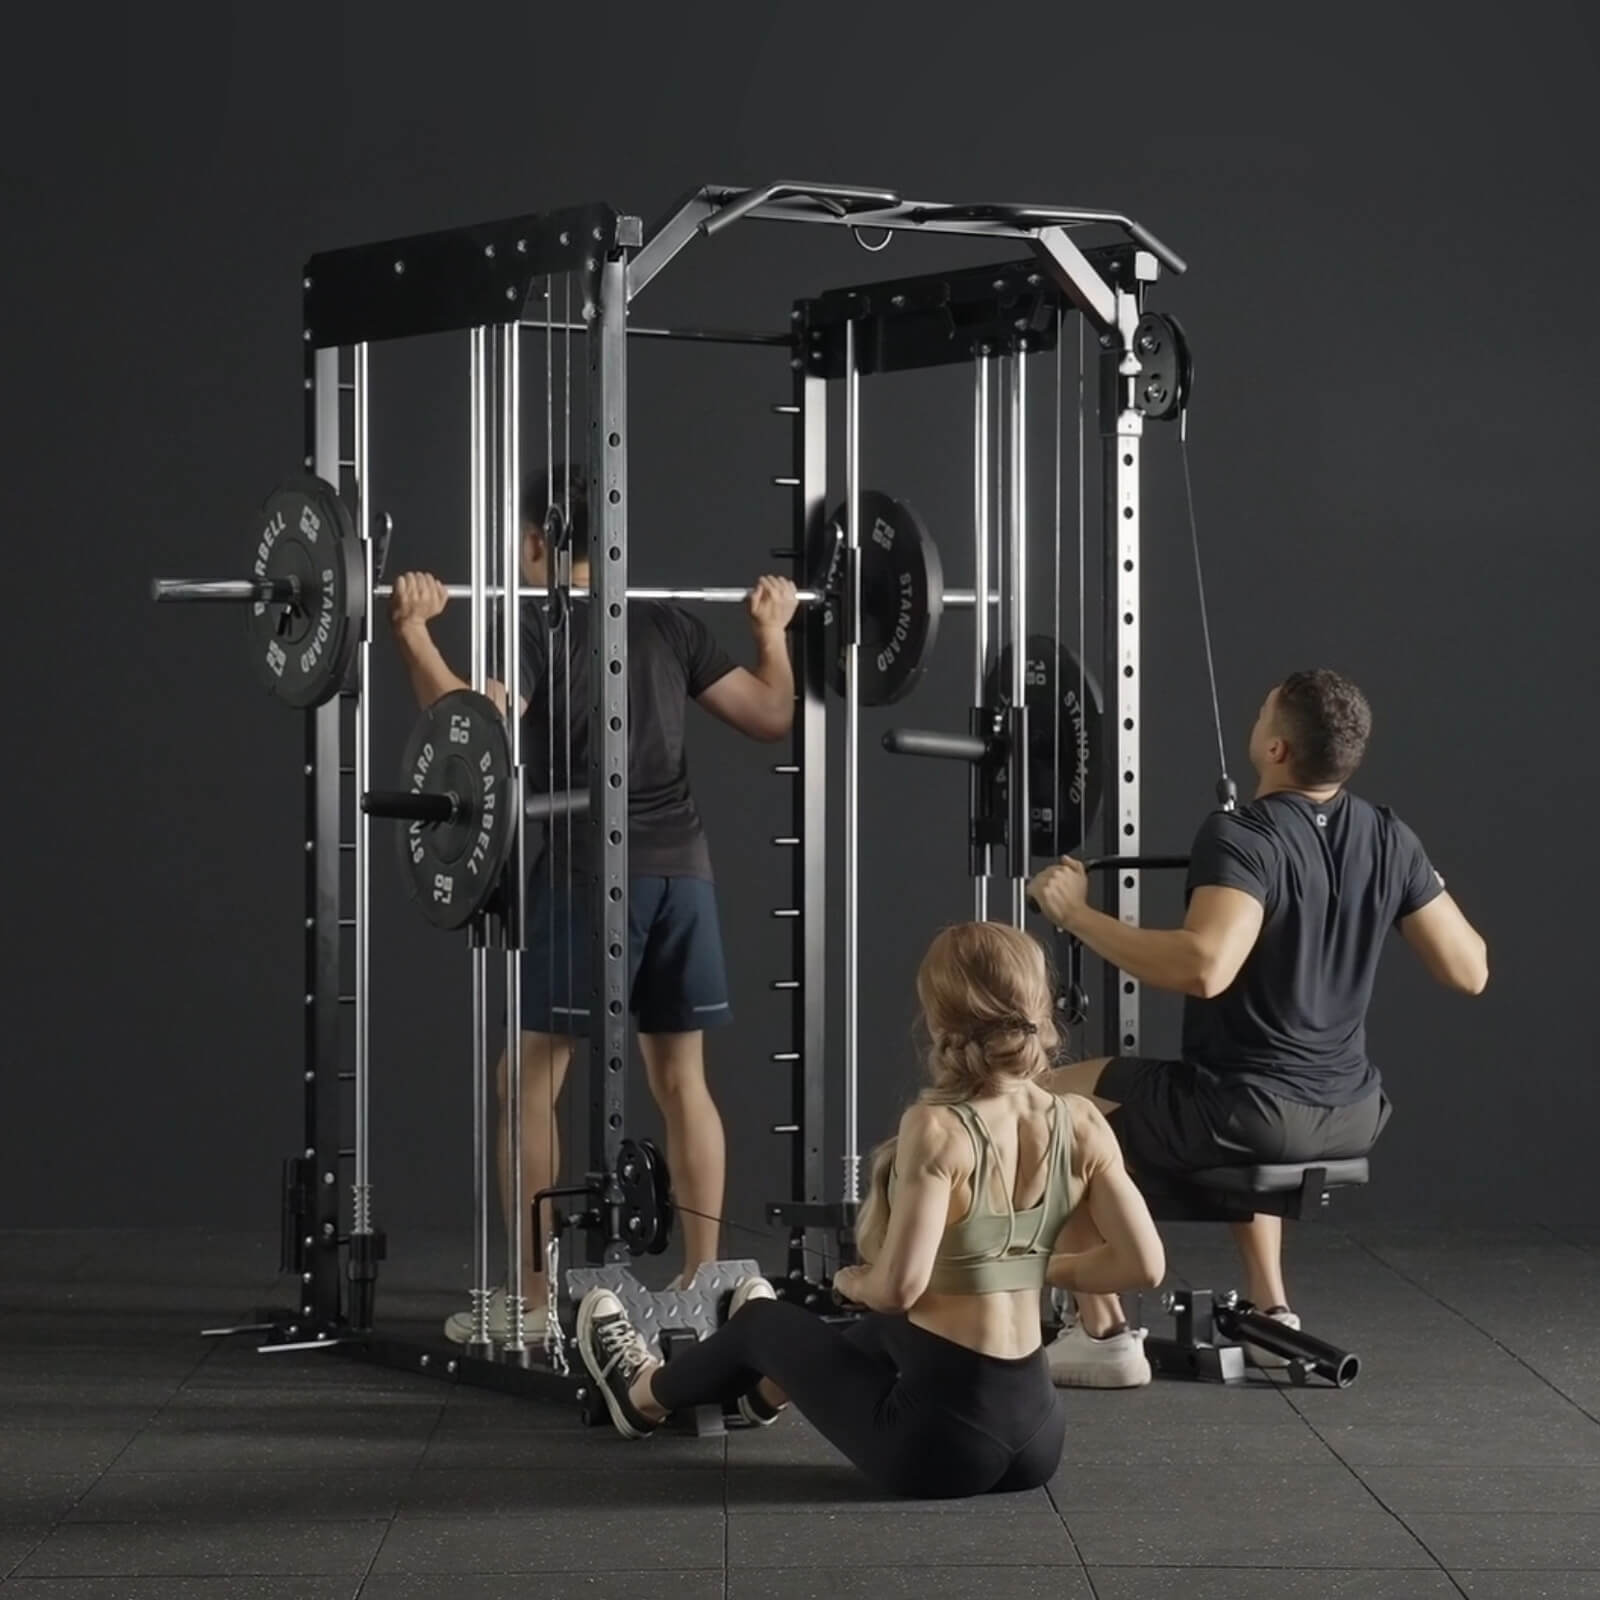
The Smith machine offers a fixed vertical path for the barbell, providing several advantages for hip thrusts:
- Increased Stability: The guided motion helps maintain proper form and reduces the risk of injury.
- Safety: Ideal for solo workouts as the machine's built-in safety hooks prevent the bar from dropping unexpectedly.
- Ease of Setup: Adjustable settings make it simple to customize the exercise to your body and strength level.
- Consistent Movement Pattern: Ensures the bar moves in a straight line, promoting balanced muscle engagement.
Essential Equipment
Before setting up your hip thrust on a Smith machine, gather the following equipment:
- Smith Machine: Ensure it's stable and has sufficient weight capacity.
- Adjustable Bench or Platform: Supports your upper back during the thrust.
- Barbell or Smith Machine Bar: For resistance.
- Padding (Bar Pad or Towel): Protects your hips from discomfort.
- Weight Plates: Appropriate to your strength level.
- Resistance Bands (Optional): Adds extra tension for enhanced glute activation.
Step-by-Step Setup Guide
1. Positioning the Smith Machine
- Adjust the Bar Height: Lower the Smith machine bar to approximately mid-thigh level. This height allows the bar to rest comfortably over your hips when you sit down.
- Ensure Stability: Make sure the Smith machine is on a flat surface and locked securely to prevent any movement during your workout.
2. Adjusting the Bench or Platform
- Select a Sturdy Bench: Use an adjustable bench or a dedicated hip thrust platform.
- Placement: Position the bench perpendicular to the Smith machine, leaving enough space for your legs to move freely.
- Height Consideration: The bench should be high enough to allow your shoulders to rest comfortably while keeping your feet planted firmly on the ground.
3. Preparing the Barbell
- Load the Bar: Add weight plates to the Smith machine bar according to your strength level. Start with a manageable weight to focus on form.
- Secure the Plates: Use collars or clips to ensure the weight plates stay in place during the exercise.
4. Adding Padding for Comfort
- Bar Pad or Towel: Wrap a bar pad or a thick towel around the Smith machine bar to cushion your hips. This prevents bruising and enhances comfort.
- Secure the Padding: Ensure the padding is tightly wrapped and won't slip during the movement.
5. Loading the Appropriate Weight
- Determine Your Weight: Choose a weight that allows you to perform 8-12 repetitions with proper form.
- Gradual Progression: Start lighter to master the setup and technique before increasing the weight incrementally.
6. Setting Your Foot Placement
- Foot Position: Place your feet flat on the ground, shoulder-width apart. Your knees should be bent at approximately 90 degrees.
- Heel Placement: Ensure your heels are firmly planted to maximize glute engagement and reduce strain on the knees.
7. Aligning Your Body
- Back Position: Sit on the ground with your upper back against the bench. Your shoulder blades should be near the top edge of the bench.
- Bar Alignment: Roll the padded Smith machine bar over your hips, positioning it directly above your pelvic area.
- Grip the Bar: Hold the bar with both hands for stability, keeping your arms relaxed by your sides.
Safety Precautions
- Check Equipment Stability: Ensure the Smith machine and bench are secure before starting.
- Use Proper Padding: Protect your hips with adequate padding to prevent discomfort or injury.
- Start with Light Weights: Begin with a lighter load to familiarize yourself with the setup and movement.
- Maintain Control: Avoid jerky movements; focus on smooth, controlled thrusts.
- Warm-Up: Engage in a proper warm-up to prepare your muscles and joints for the exercise.
Common Setup Mistakes to Avoid
- Incorrect Bar Height: Setting the bar too high or too low can disrupt the movement pattern and reduce effectiveness.
- Insufficient Padding: Failing to pad the bar can lead to hip discomfort or bruising.
- Unstable Bench Placement: A wobbly bench can compromise your form and safety.
- Improper Foot Position: Placing feet too far forward or backward can strain the knees and diminish glute activation.
- Overloading the Bar: Using excessive weight can lead to poor form and increase injury risk.
Tips for Optimal Setup
- Customize Bench Height: Adjust the bench to match your torso length for maximum comfort and effectiveness.
- Use a Mirror: Position a mirror nearby to monitor your form and ensure proper alignment.
- Engage Core Muscles: Tighten your core to stabilize your spine and enhance movement efficiency.
- Practice Without Weight: Familiarize yourself with the setup and movement before adding resistance.
- Seek Professional Guidance: Consult a fitness trainer if you're unsure about the setup or technique.
Conclusion
Setting up hip thrusts on a Smith machine is a straightforward process that, when done correctly, can significantly enhance your glute training regimen. By following this step-by-step guide, you can ensure a safe and effective workout, maximizing muscle engagement and minimizing the risk of injury. Remember to prioritize proper form, gradually increase your weights, and listen to your body to achieve the best results from your hip thrust exercises.









Leave a comment
All comments are moderated before being published.
This site is protected by hCaptcha and the hCaptcha Privacy Policy and Terms of Service apply.